As per our other guides, I usually take and test the Eachines new quads before I commit to buying them in bulk and recommending them to customers.
In some circumstances we buy them anyway and sell them as “SUPER UPGRADED” versions with the fixes complete as most people who are buying these quads are relatively new to the hobby and have no idea what they are doing.
You may be interested in my other reviews
Eachine Falcon 180 RTF Naze32
Eachine Racer 250
Eachine Blade 185 Guide
Eachine Falcon 250 STD
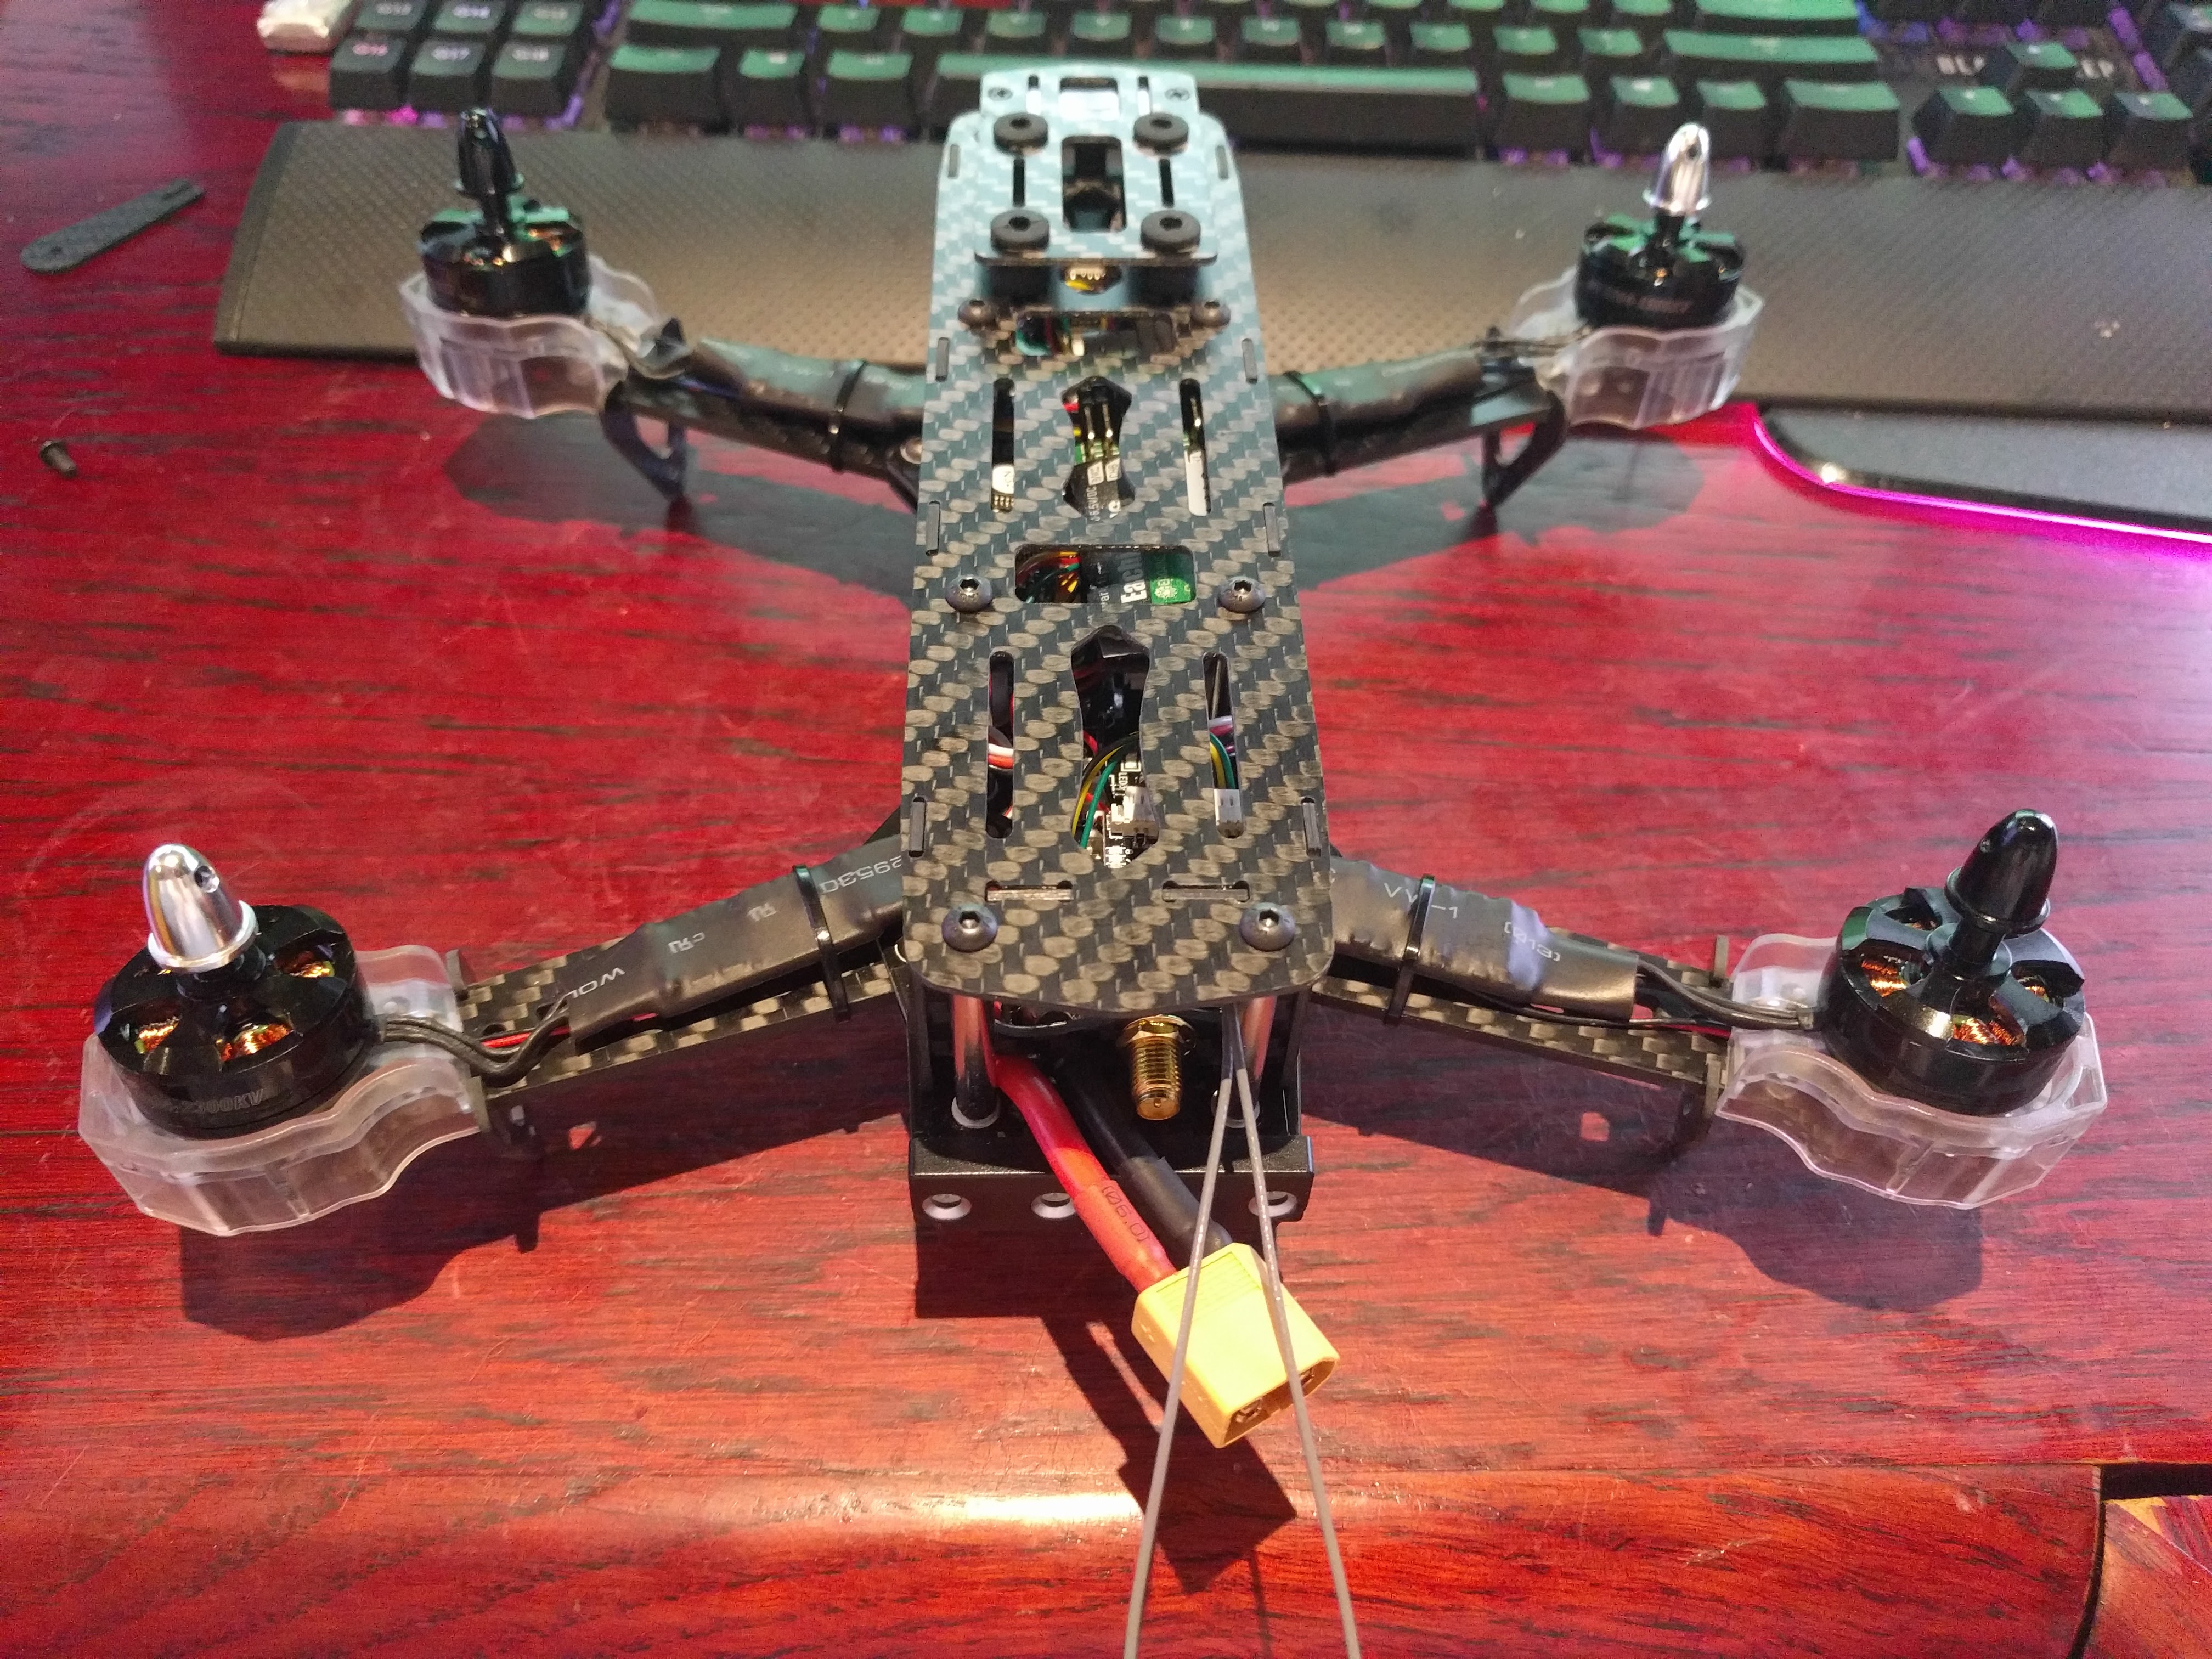

Is this ready to fly? NOPE!
If you are a beginner and you can’t follow the guide below, don’t buy this quad! If you are up the the challenge of change settings below, you can then fly on Angle or Horizon Mode (auto stabalise) and learn to fly.
Issues
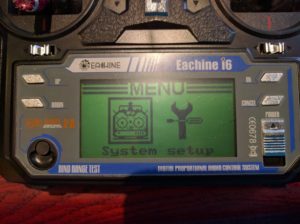
- i6 Eachine transmitter has locked Bootloader by Default – Can’t change any settings
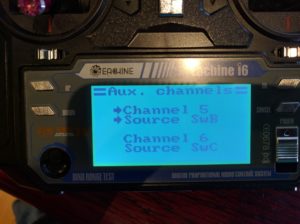
- AUX 1 is set to Knob VRA and it does nothing.
- AUX 2 is set to Knob VRB
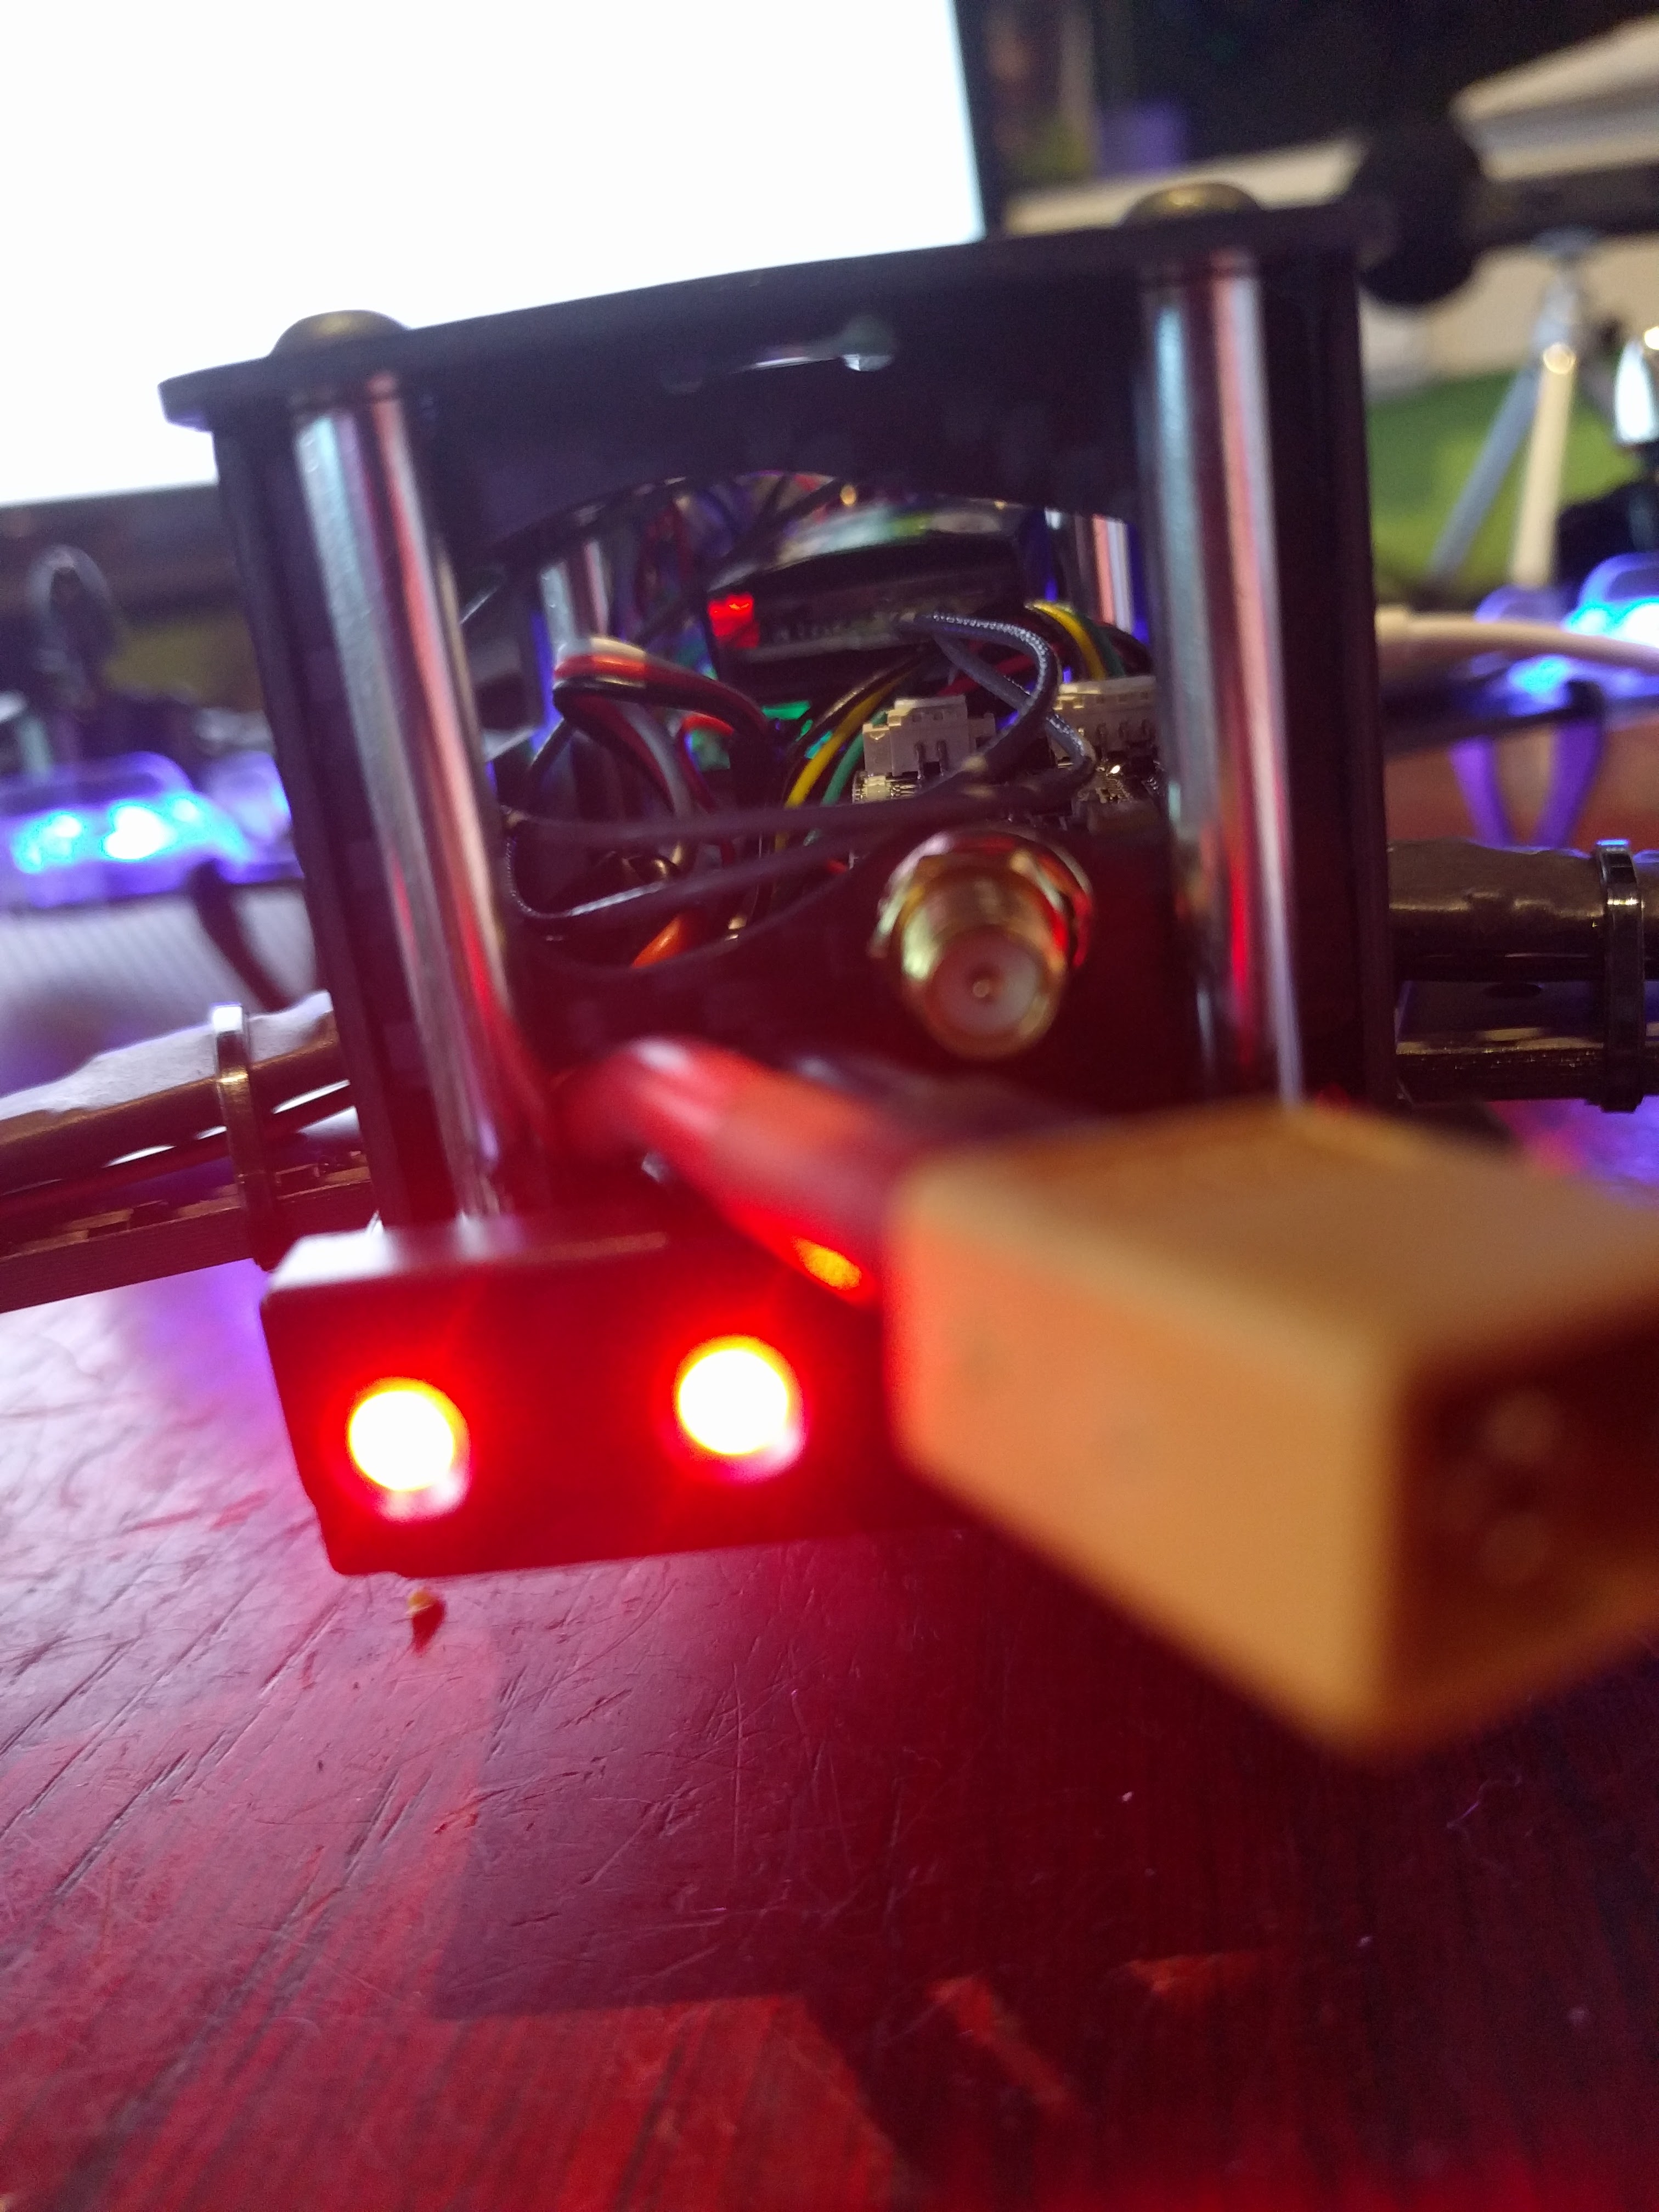
- Aerials aren’t mounted properly
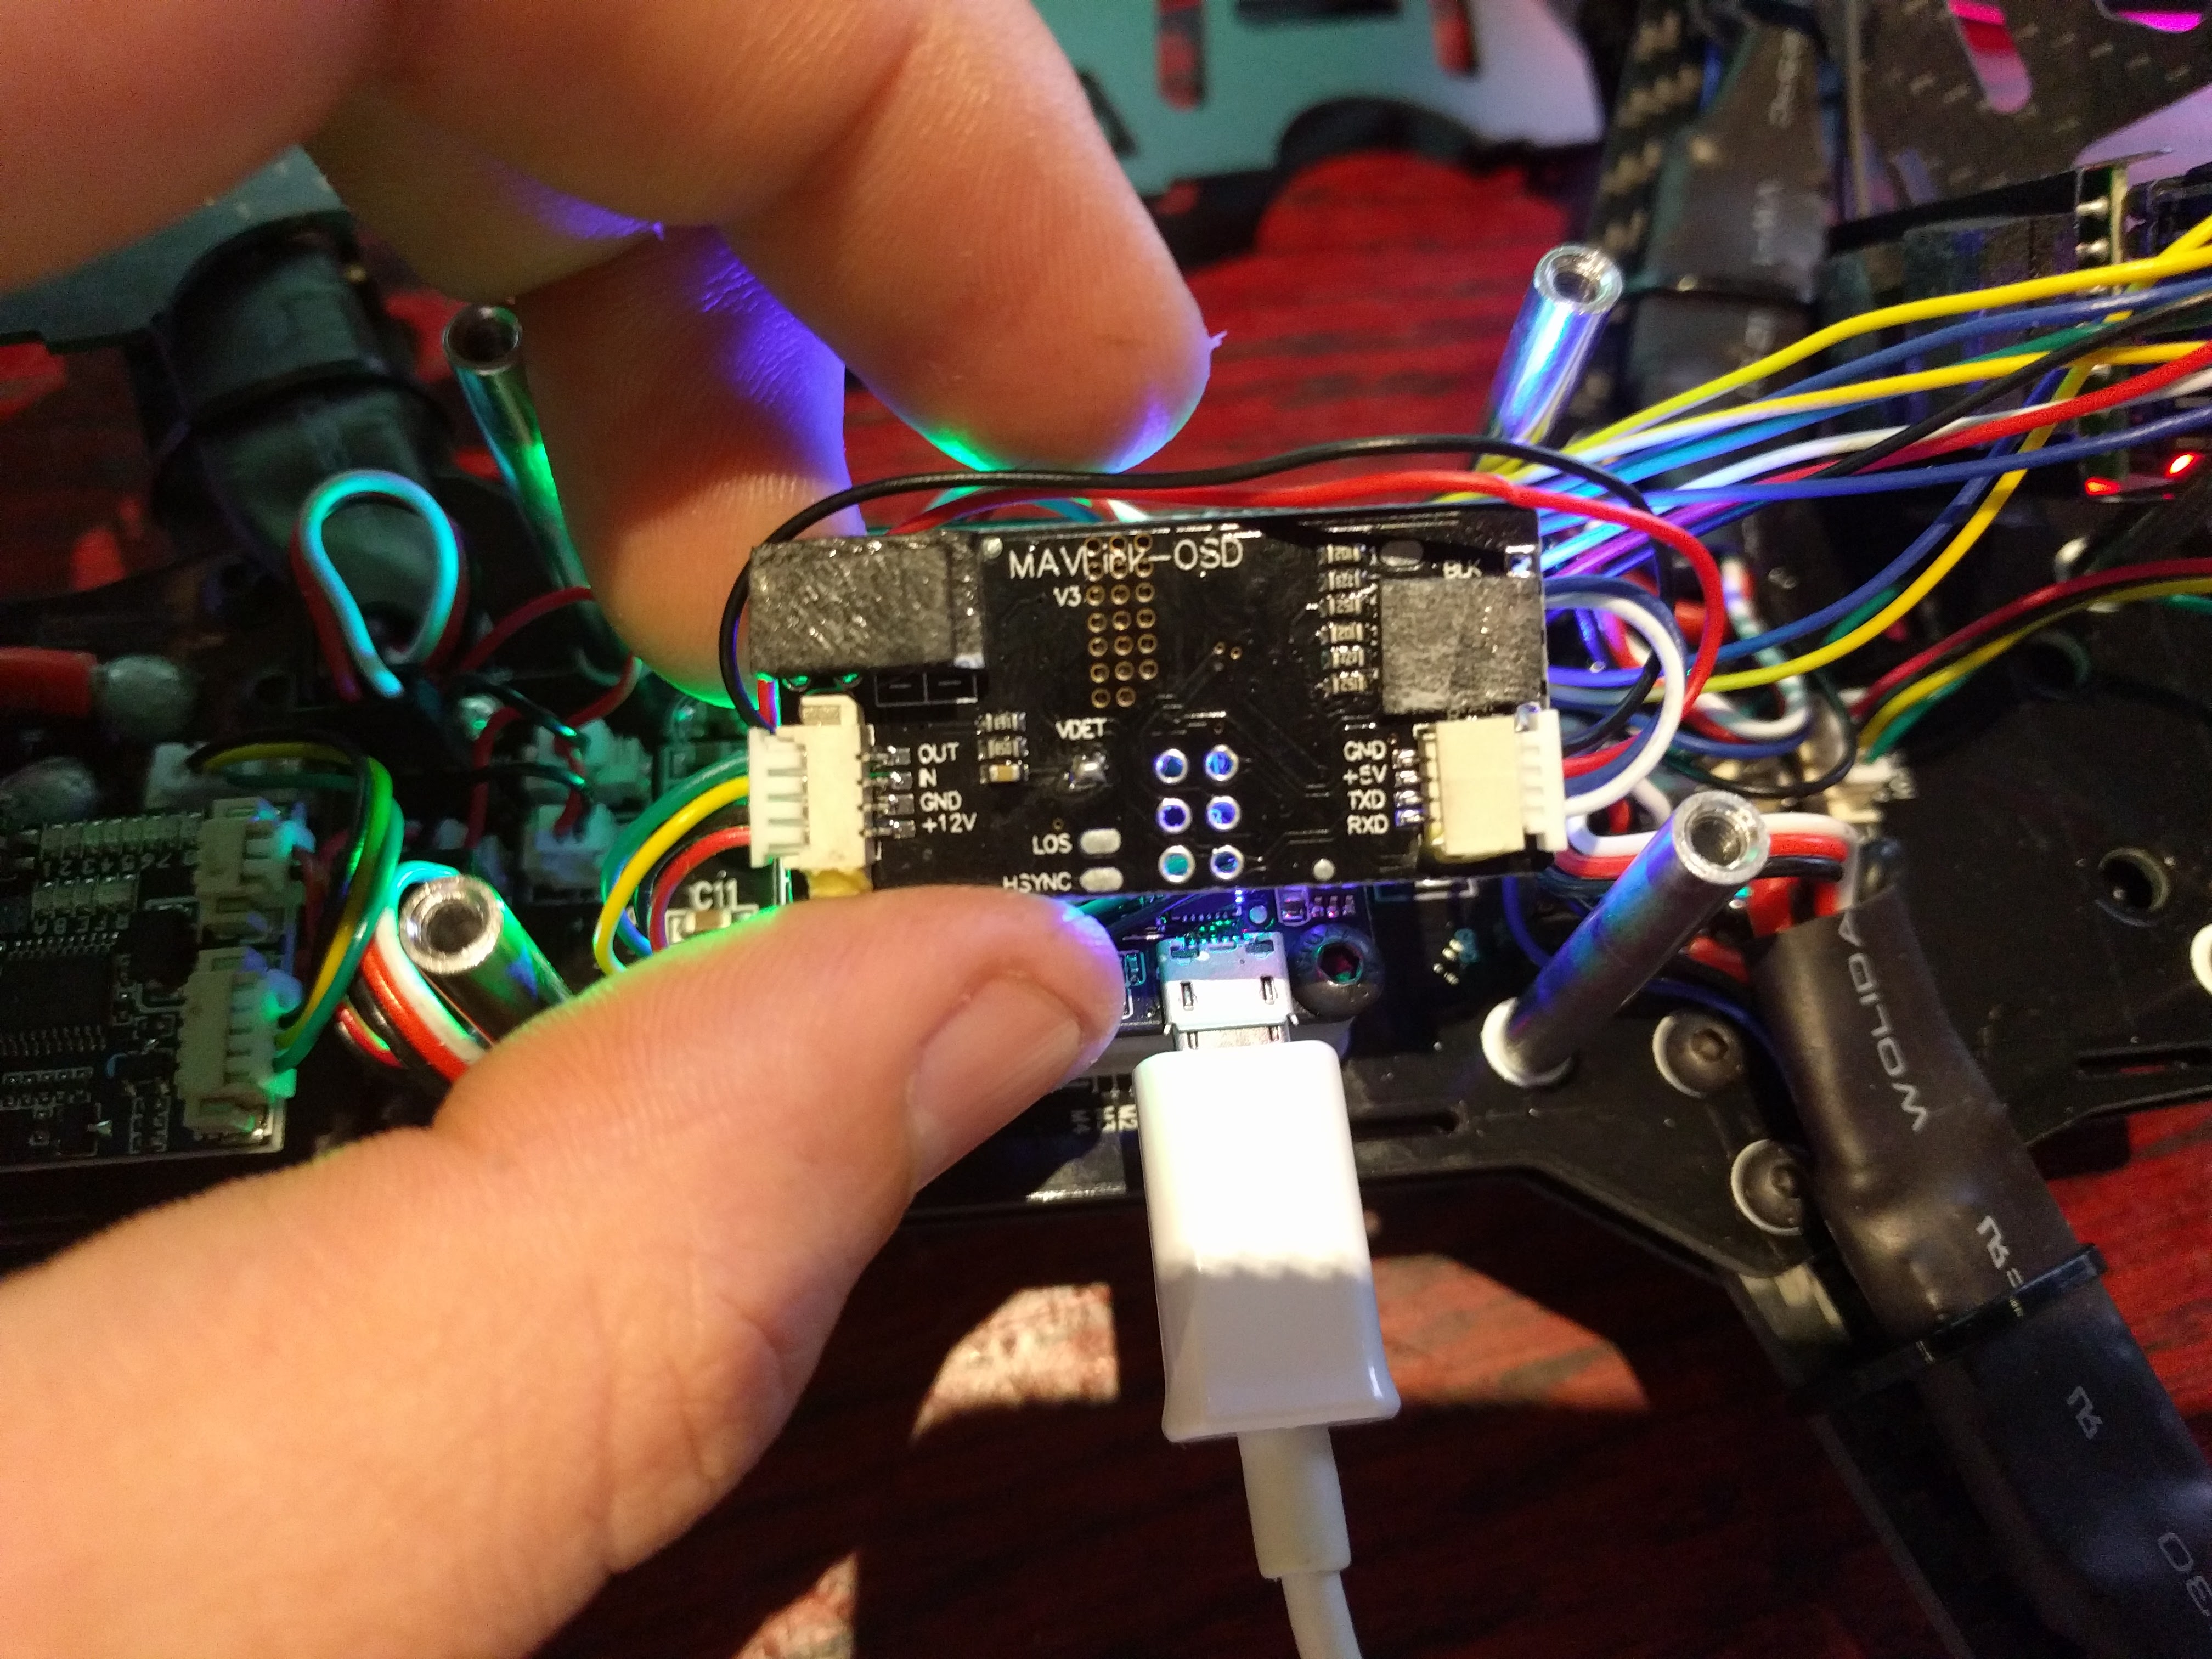
- OSD on same UART port – TX/RX pins need to be removed if you want to access cleanflight. (This was on NAZE board, may be different on sp racing F3)
- If you turn off dip switch 4 to 0 FC is no longer powered as it runs on the same 5/12v rail.
- Comes with old Cleanflight 1.12 and nothing is setup at all
- No Flight Modes set, only Acro Mode!
- No Buzzer by default – you can add one if required!
Some other improvements they could make
- Use all CW caps on motors, not have them different
- Use proper locknuts for the motors
- Improve battery strap, it is not very strong at all.
- Change to PPM/SBUS receiver
The Solutions
- To Change the Eaching i6 Transmitter settings, Hold the yaw trim to the right, the roll trim to the left and turn on the transmitter. You can then enter settings by holding down ok on the Transmitter
- Part of solution 3
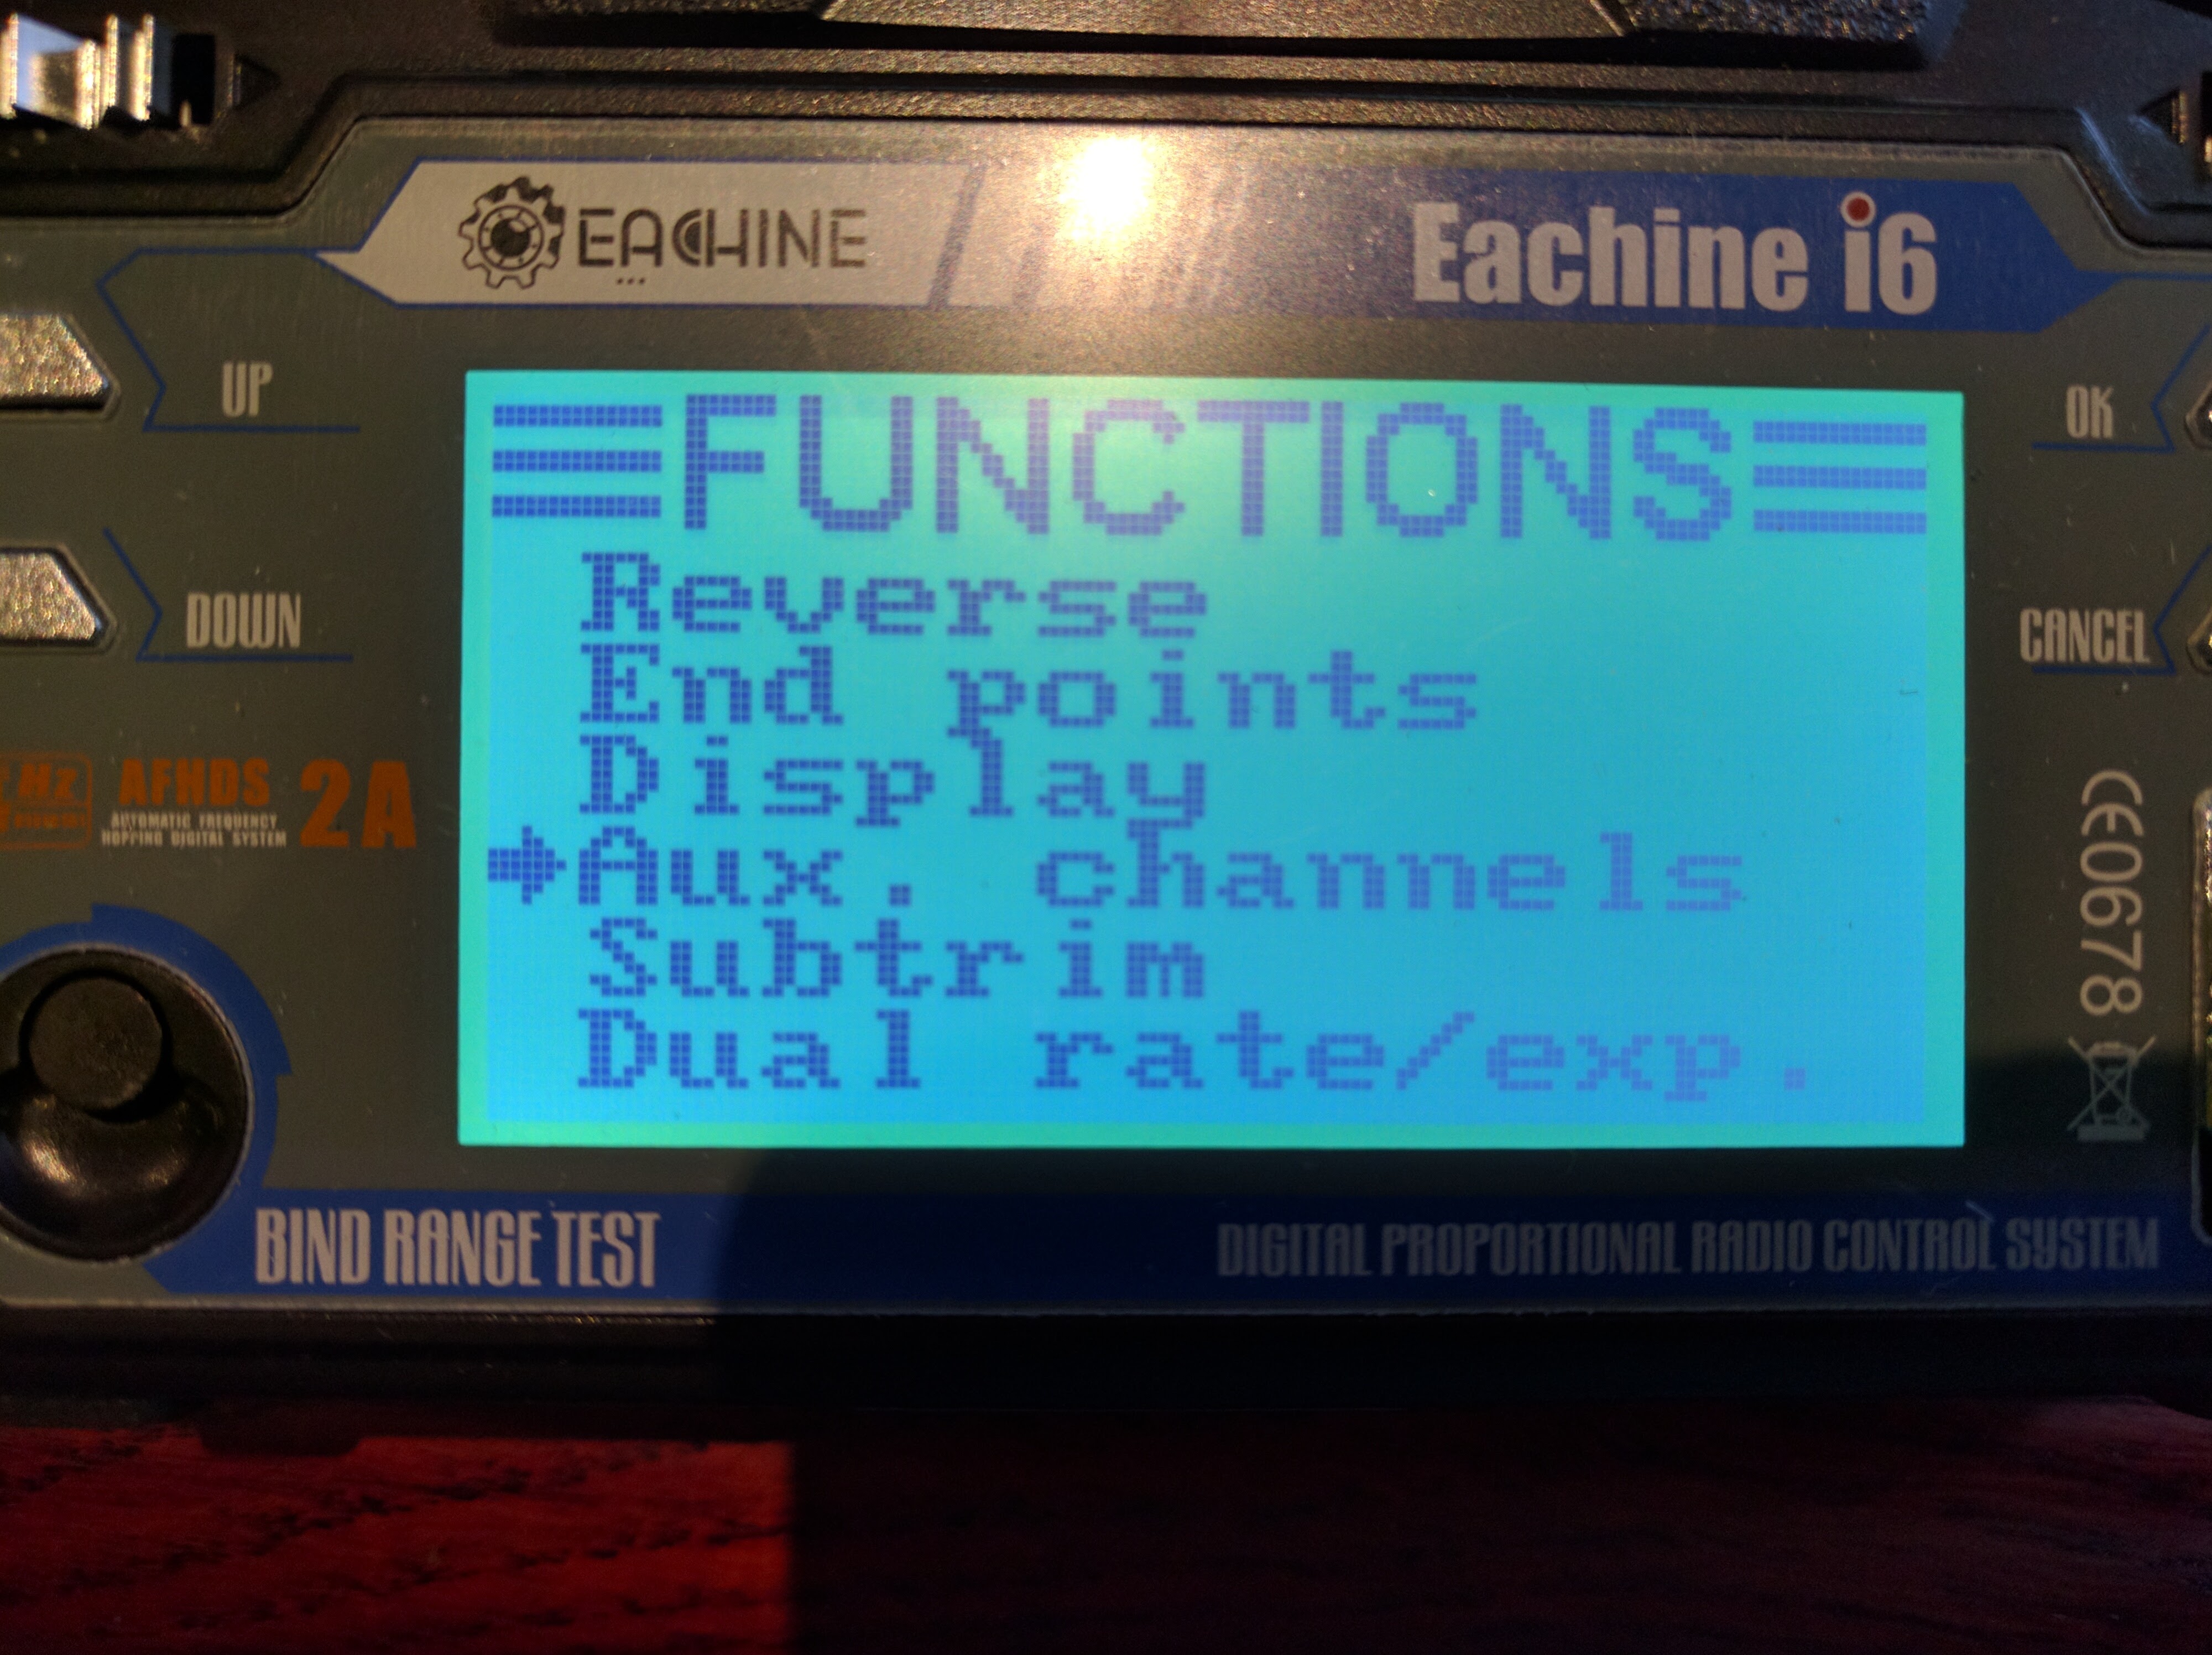
- Now that you can enter the setup of i6, goto Functions Setup, Aux Channels, then change Chanel 5 to SwB and Channel 6 to Swc. Hold down Cancel to SAVE. Switches for modes and settings are way better than turning Knobs!

- Get some Cable ties and heat shirnk and mount the aerials facing upwards so there is no chance props can hit them. In default position they will get chopped by props straight away!
Another method is just to place aerials inside the frame, however range won’t be as far.


- On the NAZE version it seems the OSD is running on the same UART port as the FC. If you want to do step 7 and 8, it is required to disconnect it as per pictures.


- I noticed that if you turn dip switch 4 off, it cuts all power to the naze32, so be sure not to do this if you are turning off your lights!
- see step 8.
- This last stage is quite a bit of work, but hang in there. We are going to upgrade to cleangflight 1.13 and then set it up correctly and configure the switches on your radio.
Upgrade Eachine Falcon 250 Pro Cleanflight


- Remove Props from Quad.
- Install the Cleanflight Configurator from the Chrome Web Store.
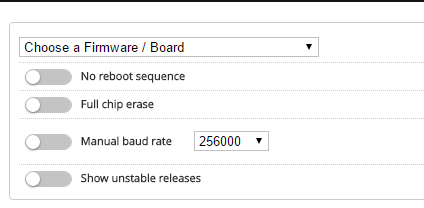
- Download Latest cleanflight or Betaflight _NAZE.hex from release pages.
For difference on Cleanflight vs Betaflight view this article. - In Cleanflight Configuration, make sure you disconnect from your quad, then click the firmware flasher tab.
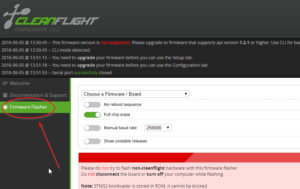
- Click Load Firmware [Local]
- Select file you downloaded from Step 3.
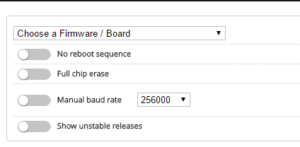
- Select These options as per screenshot
- Click Flash Firmware
- You are now on Cleanflight/Betaflight!
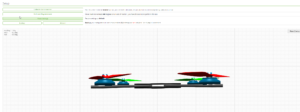
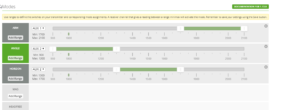
- Click Connect at the top right and if successful you should see your quad like this
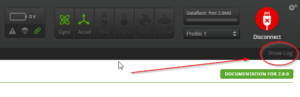
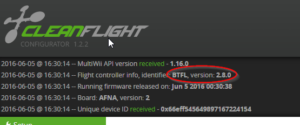
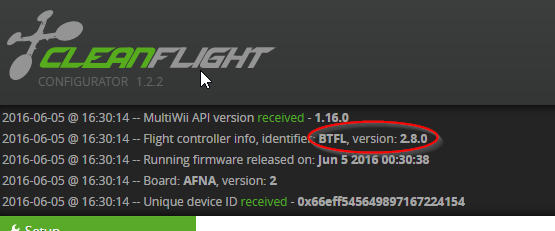
- You can check what version the chip is running by expanding the log
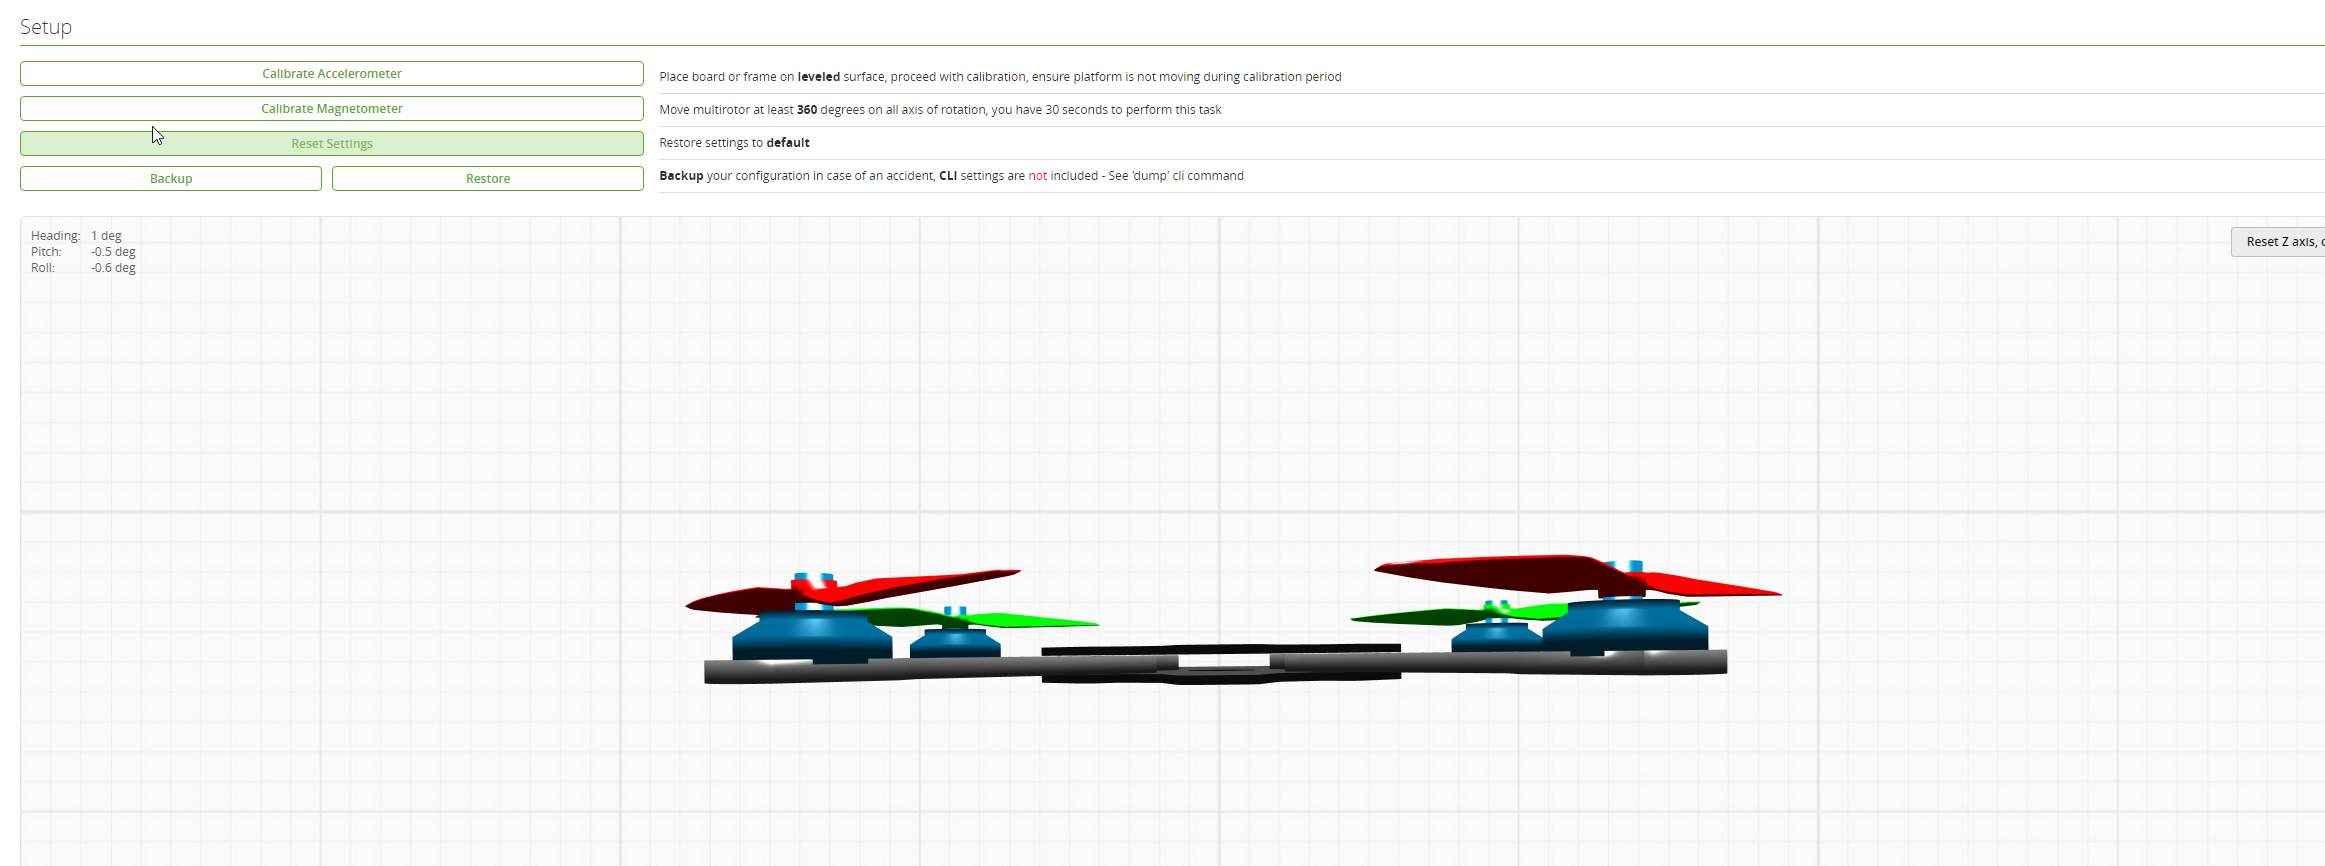
- Place Quad on flat surface and under setup, click calibrate accelerometer.
- Go to Configration tab
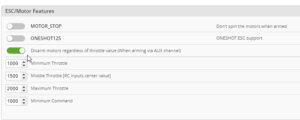
Change minimum throttle to 1000
Change Maximum throttle to 2000
You can also turn blackbox off here if you do not require it, it will give the CPU less work if so.
Save and reboot
Your screen should look like this
- Now we need to calibrate ESC, go to the motor tab. remember, you should have removed props at the start, if you didn’t, DO THIS NOW.
Unplug battery
Click “I Understand the risks …….”
Slide Master to MAX
Plug in battery, wait till you have heard all different types of beeps.
Slide Master to MIN
ESC Calibration is now complete!
Unplug battery, then plug in again. (power cycle it)
Click on Master slide and slowing push up with your arrow until all motors come on (mine was 1097)
If they come on at very different throttle inputs, redo your calibration! - Now go back to the Configuration tab
Change minimum throttle to your number. eg. 1097
Change Maximum throttle to 1900
Save and reboot - Next go to the Failsafe tab
Check you are happy with what the failsafe is. I like it to slowly land, others like it to drop. There is pros and cons to both. Research what you want 🙂 - Next go to PID Tuning
Change roll rate to 0.80
Change pitch rate to 0.80
Change YAW rate to 0.40
TPA should be 0.20
TPA breakpoint should be 1650
You can up these rates more if you like. I personally fly on 0.9 for all three. - Now go to receiver tab, and check all your transmitter channels are correct.
- Since we changed the knobs to switches for AUX 1 and AUX 2, we can now move on to next section and setup the switches.
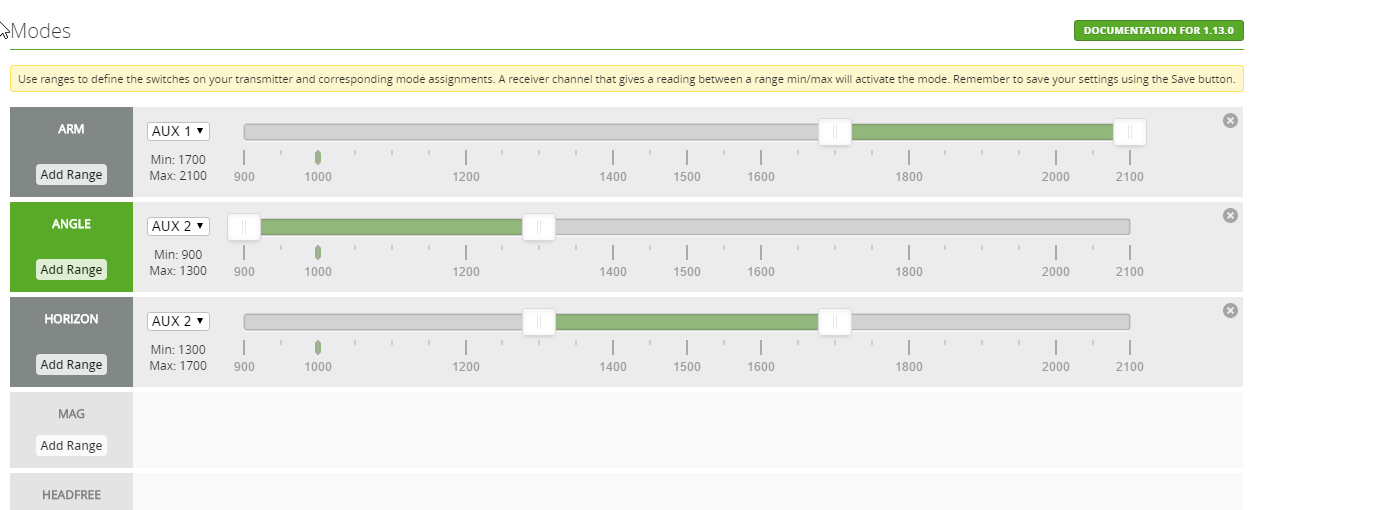
- Go to The Modes Tab
FYI, No mode selected = ACRO+ / Rate mode by default.
Altitude mode = Angle Mode
Rattitude mode = Horizon ModeIn the below screenshot I have setup the following for my switches.
SWB 1 = Nothing
SWB 2 = Quad ArmedSWC 1 = Angle
SWC 2 = ACRO/RATE
SWC 3 = Horizon
If you are a more advanced Pilot, you may want to change SWB 2 to Airmode and still use the Yaw right, Yaw left to arm and disarm. - Give it a test flight! Make sure you are open space in case you missed a step and it crashes.


Everything worked but configuring my switches. Since I’ve made these changes, I can no longer hold the yaw stick down+left to arm. Is there a simple fix? Much thanks!
Hi Alex,
This method of arming is considered poor practice as it requires time to disarm and during extreme manouvers you can accidently disarm during flight. It is best practice to set your arm and disarm to a switch, so that you can instantly disarm in the event of an emergency. If you MUST use stick commands to arm and disarm you need to switch off the arm tab in cleanflight and it will resort to arming via stick commands.
Hope that helps
Regards
Shanan
It’s because swb2 is now the arm switch.
Does this unbind to the remote? Cause I can’t get the remote 2 do anything to the drone now, the drone beeps in 1 second intervals
My Falcon 250 Pro has a buzzer mounted on the pdb, do you know how this can be configured? It doesn’t connect to the fc as expected. Also, do you know if the rear led Bar can be modded? The stock ia6 receiver doesn’t have ppm, so I have no space on the fc to add a custom led strip.
Hi, thanks for sharing. I have now done everything as described. But, even if binded and tutorial followed I am not able to start motors! Flight controller is flashing green, but no response on motors (only on LED lights)? All help would be highly appreciated 🙂 I am probably missing how to arm/disarm the quad ….
BR. Cristian
Hey Christian,
Same problem here, did you end up finding a solution for this problem?
Thanks Jett
How do you configure the FC to recognise the 6th channel, as I can only set the 5th channel, so I’ve set that Hoziron/Acro instead on Arm?
Just to clarify…..the 250 Pro only has 5 channels set up so how do you go about enabling the 6th channel so I can follow your instructions above? As a result I have set Aux 1 to SWC instead so I can set Horizon/Acro, but would love to assign Aux 2 to SWA also.
Any answer on this yet? I’ve been looking all over and haven’t been able to figure it out. My FC is the sp racing f3
This is only abut Falcon 250 PRO with SP racing F3 controler – in this drone, Channel 06 from receiver is not connected to flight controller, and nobody knows why. To use Channel 06 you need to use new wire and connect Ch06 from receiver to SP racing F3 controller.
Workaround: use SWC (three position) for AUX1, and in Cleanflight program for example: DISARMED, STABLE, ACRO.
On drones with NAZE channel 06 is normally connected.
Same question.
After configuring with cleanflight and reassembling, the fpv screen is black. When I move to camera to the video2 port I have video on my fpv goggles, but no OSD. Is there something I’m missing?
“Use all CW caps on motors, not have them different” They are different so when the motors spin it tightens the nut. using all cw would probably cause 2 to spin off when flying