Please note this guide is updated regularly – Last Updated 8th April 2016
If you follow this guide and want to add or contribute to pictures/guide, please contact us.
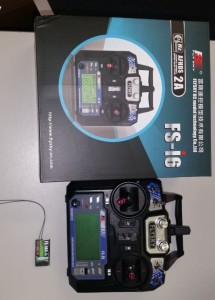
- First you will need to un-box your drone and your controller
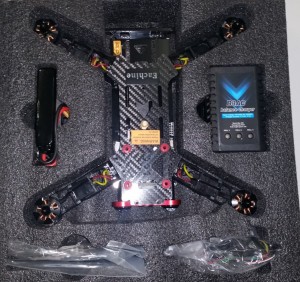
- Take out these cables from your drones small bag of cables.
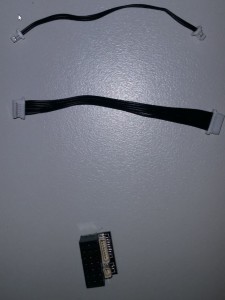
- And attach the small pcb to the controller’s receiver as shown
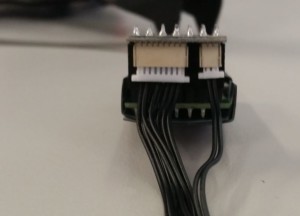
- After remove the eachine badge by prying from under it with a thin blade.
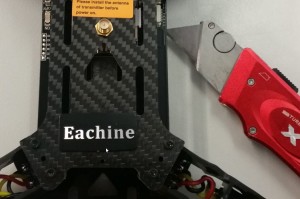
- Next use double sided tape to mount your receiver where the Eachine badge was and feed the cables down through the arrow shaped hole.
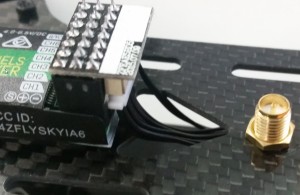
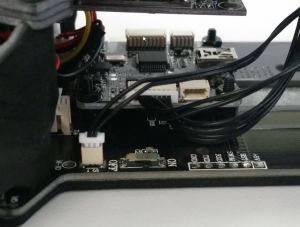
- Next connect the cables to the flight controller and the power board.
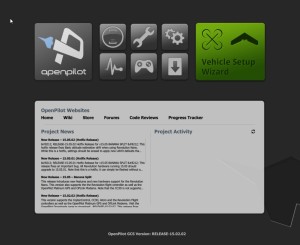
- Download OpenPilot GCS 15.02.02 and install it
Open it and you are given this screen.
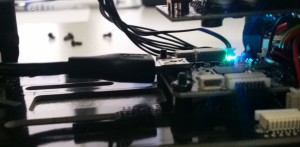
- Connect your Flight Controller CC3D to your computer via a mini USB cable.
- Now you will get a prompt on openpilot press ok
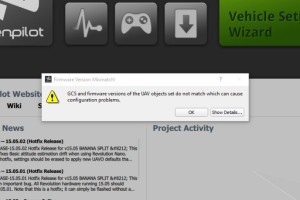
- Click ok and allow it to do this. now the next step is to click the button that says vehicle setup wizard and you will be given this screen.
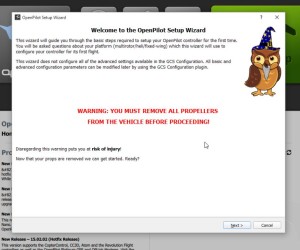 .
. - Click next, and this screen will come up.
.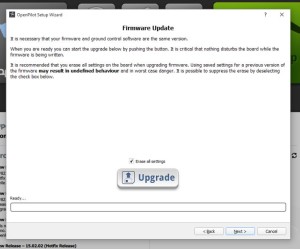
- Click Next
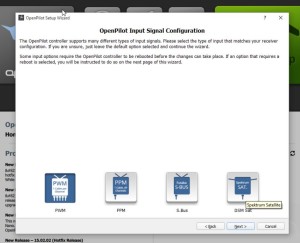
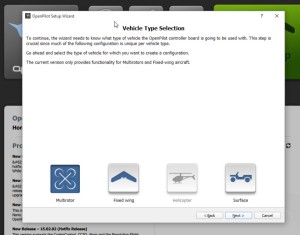
- select PWM and click next. This screen will then appear, select multirotor and hit next.
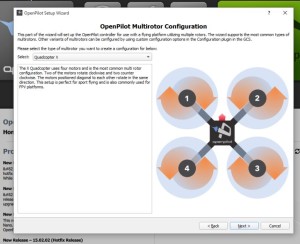
- This screen will the appear, ensure it is set to ‘quadcopter x’ and press next.
- Select “rapid esc” and press next.
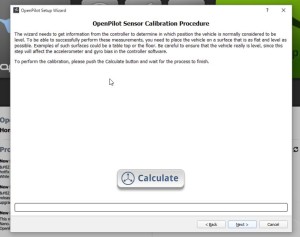
- Place your drone on a flat surface and press ‘calculate’. Then press next. As this next screen appears it is crucial that your battery is not plugged in yet.
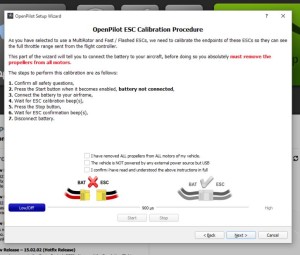
- Confirm all safety questions and press start. Now connect your battery. your drone will begin to beep. When it stops beeping press stop. then click next.
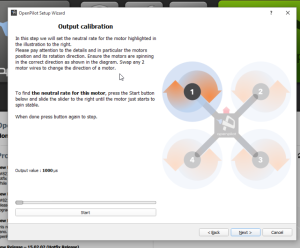
- On this screen you will determine the minimum idle of your motors, every motor is different so they will all be slightly different. Press start and adjust the slider until your motor just starts to spin at a stable speed, once it is spinning press stop. Do this for all four motors and click next.

- Now it is time to set up your controller. press next.
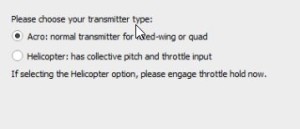
- Select ‘acro’ and press next.
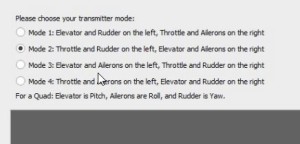
- Select whichever mode you would prefer to fly in, we suggest mode 2. Press next.
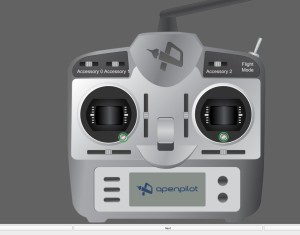
- You will be given a screen similar to this, the first thing you will do is check your sticks are correctly identified. To do this move a stick on your controller and ensure the corresponding stick moves on the on-screen controller.
The program which show as stick (represented by a green dot moving) on the screen. Move the corresponding stick on your controller. It will do this in 2 directions for each stick. After this is done it will ask you to toggle the flight mode switch on your controller, do this.
Next it will ask you to toggle your accessories switches, keep clicking next as you only have one switch being used for flight mode with the i6 Transmitter. The switch you should toggle for flight mode is switch 3 (the 3 position switch)
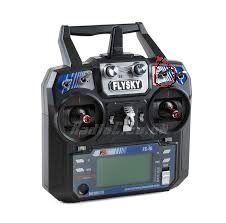
The program will prompt you to move all switches and sticks to their limits. Move the sticks around the perimeter of their sockets.
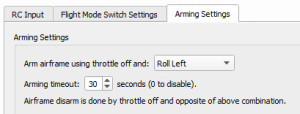
After that it will give you and option to change your arming solution. We suggest setting it to ‘roll right’.
- Now you need to set up your flight modes.

Your flight setting will be set from top to bottom on the 3 position switch. You should set the flight characteristic from the controls in the lower half of the screen. Set the first position to be ‘Attitude’ for both roll and pitch, ‘Axislock’ for yaw and ‘Manual’ for thrust. This will mean the drone will be self-leveling any point and the drone will only turn as you hold the yaw stick. This mode is for BEGINNERS
The second mode is called Rattitude, it will act with the auto leveling of attitude mode whenever the stick (excluding thrust) are are within 20% of there movement. Going further then that will activate rate mode. This will allow you do flips, and other tricks. To set Rattitude mode change roll and pitch to the ‘rattitude’ setting. keep yaw on ‘axislock’ and thrust on manual. This mode is for INTERMEDIATE FLYERS
The third and last flight mode we will be setting up is acro+. This will allow you to controls flips and rolls, and tricks better but it will not auto-level. This means that if you move the pitch stick forward and release the pitch stick back to the center the drone WILL NOT LEVEL until you pull back further then the center point on the pitch stick, the same goes for the roll. To activate the mode set the roll and pitch channels to ‘Acro+’ This mode is for ADVANCED FLYERS ONLY.
Each of the modes in descending order are from easiest to hardest. Get many hours flying and get very comfortable controlling the drone before changing from attitude mode. It is also wise to when you are first learning any of these modes to go to a large of space without people very close by to practice. Remember the drones if they hit a human can be dangerous and cause severe injury to people.
