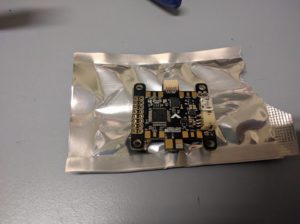
Kombini Flight Controller is a FC and PDB all in one. I was given a sample to review and below will be my build log and initial flight experience.
TL;DR This is am amazing FC, a little fiddly to wire together, but the space saving offered by this means even the the smallest of frames are easy to build.
Unlike any other current brushed Flight Controller, the Komobin is the first to bring to market a FC + PDB all in one and can handle 150A of current @ 5s (18.5V). Based on the very latest F3 chip processor this FC can be loaded with CleanFlight or BetaFlight.
Features & Capabilities:
- Latest Generation F3 Processor Chip
- Simplicity Defined with Built In PDB
- Massive 150A PDB Current Protection
- 5S 18.5V Ready
- Ultra Compact Design for Ease of Installation
- Gold Plated Pads for the Very Best Connectivity
- Heavy Duty 2A BEC @ 5V Output
- Firmware Perfection via CleanFlight & BetaFlight
- BLHeli Pass Through Setup
- Compact Sizing w/ 30.5mm x 30.5mm Mounting Holes
- Sbus Ready w/ Built In Inverter
- Included Spektrum Satellite Port
- FrSky Telemetry, Ready & Waiting
- Full USB Support
- Built In Buzzer
- Mounting Simplicity via 3mm Screws
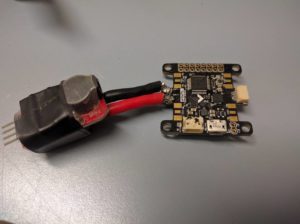
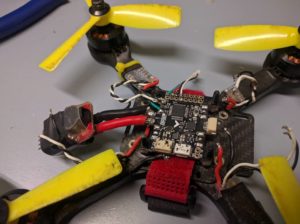
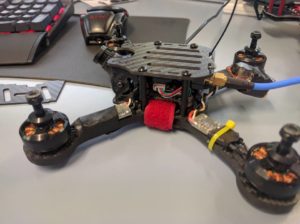
The initial concept of a PDB+FC all in one was great to me, until I head the FC in my hand and realised how precise my soldering will have to be. I was lucky enough to be able to use Phasers as my workshop to put this into an existing quad. First up was to add the XT60 power cord, which I needed to shave down a little so it would fit on the pads without shorting.
Pro Tip: ALWAYS use a multimeter to ensure you have not bridged your positive and earth BEFORE plugging in a Lipo
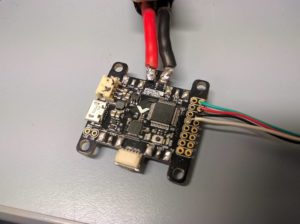
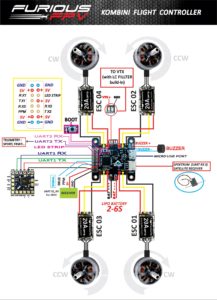
Once the power cord was added and tested I soldered up the RX, FrSky XSR w/ CPPM and SPort (for Telemetry). You can refer to the wiring diagram further below, please note that in order to get Telemetry working you will need to bridge the RX and TX of UART2 then connect your SPORT to either as they are bridged.
Once the RX was added and tested all that was needed was to solder the ESC’s to the board, only the signal wire is required as the FC shares earth from the ESC power cords. I decided to solder all 4 ESC signal wire earth together in case I needed them for a future build. No need for VBAT or power for the FC as it has its own built in BEC to provide 5A
The only issue I had with the Kombini was the built in Buzzer didn’t work for me, RCGroups forum is also a little confused as the FC description has both “Built in Buzzer” and “Buzzer Port”. All I know is once I connected a external buzzer to the Buzzer port, it works perfect.
Here is the maiden DVR, note that there was 40KM/h winds on the day:
And here is the DVR from a NSW Multi-Rotor Club Fun Fly day:
Full Wiring Diagram:
Written by KaosFPV

is there an error in the pad diagram? you said SBUS but soldered onto the PPM?
Hello. Is there an onboard current sensor ? It seems that mine is incorrect. What do I have to select in betaflight to get correct mAh values trough telemetry ? Thanks!
Hi. How didáctico you connection the camera and vtx? Thanks
Underneath the JST connector on the front of the FC is 12v/5v pads, I solder the 12v power and ground to VTX, which then gives 5V to the camera