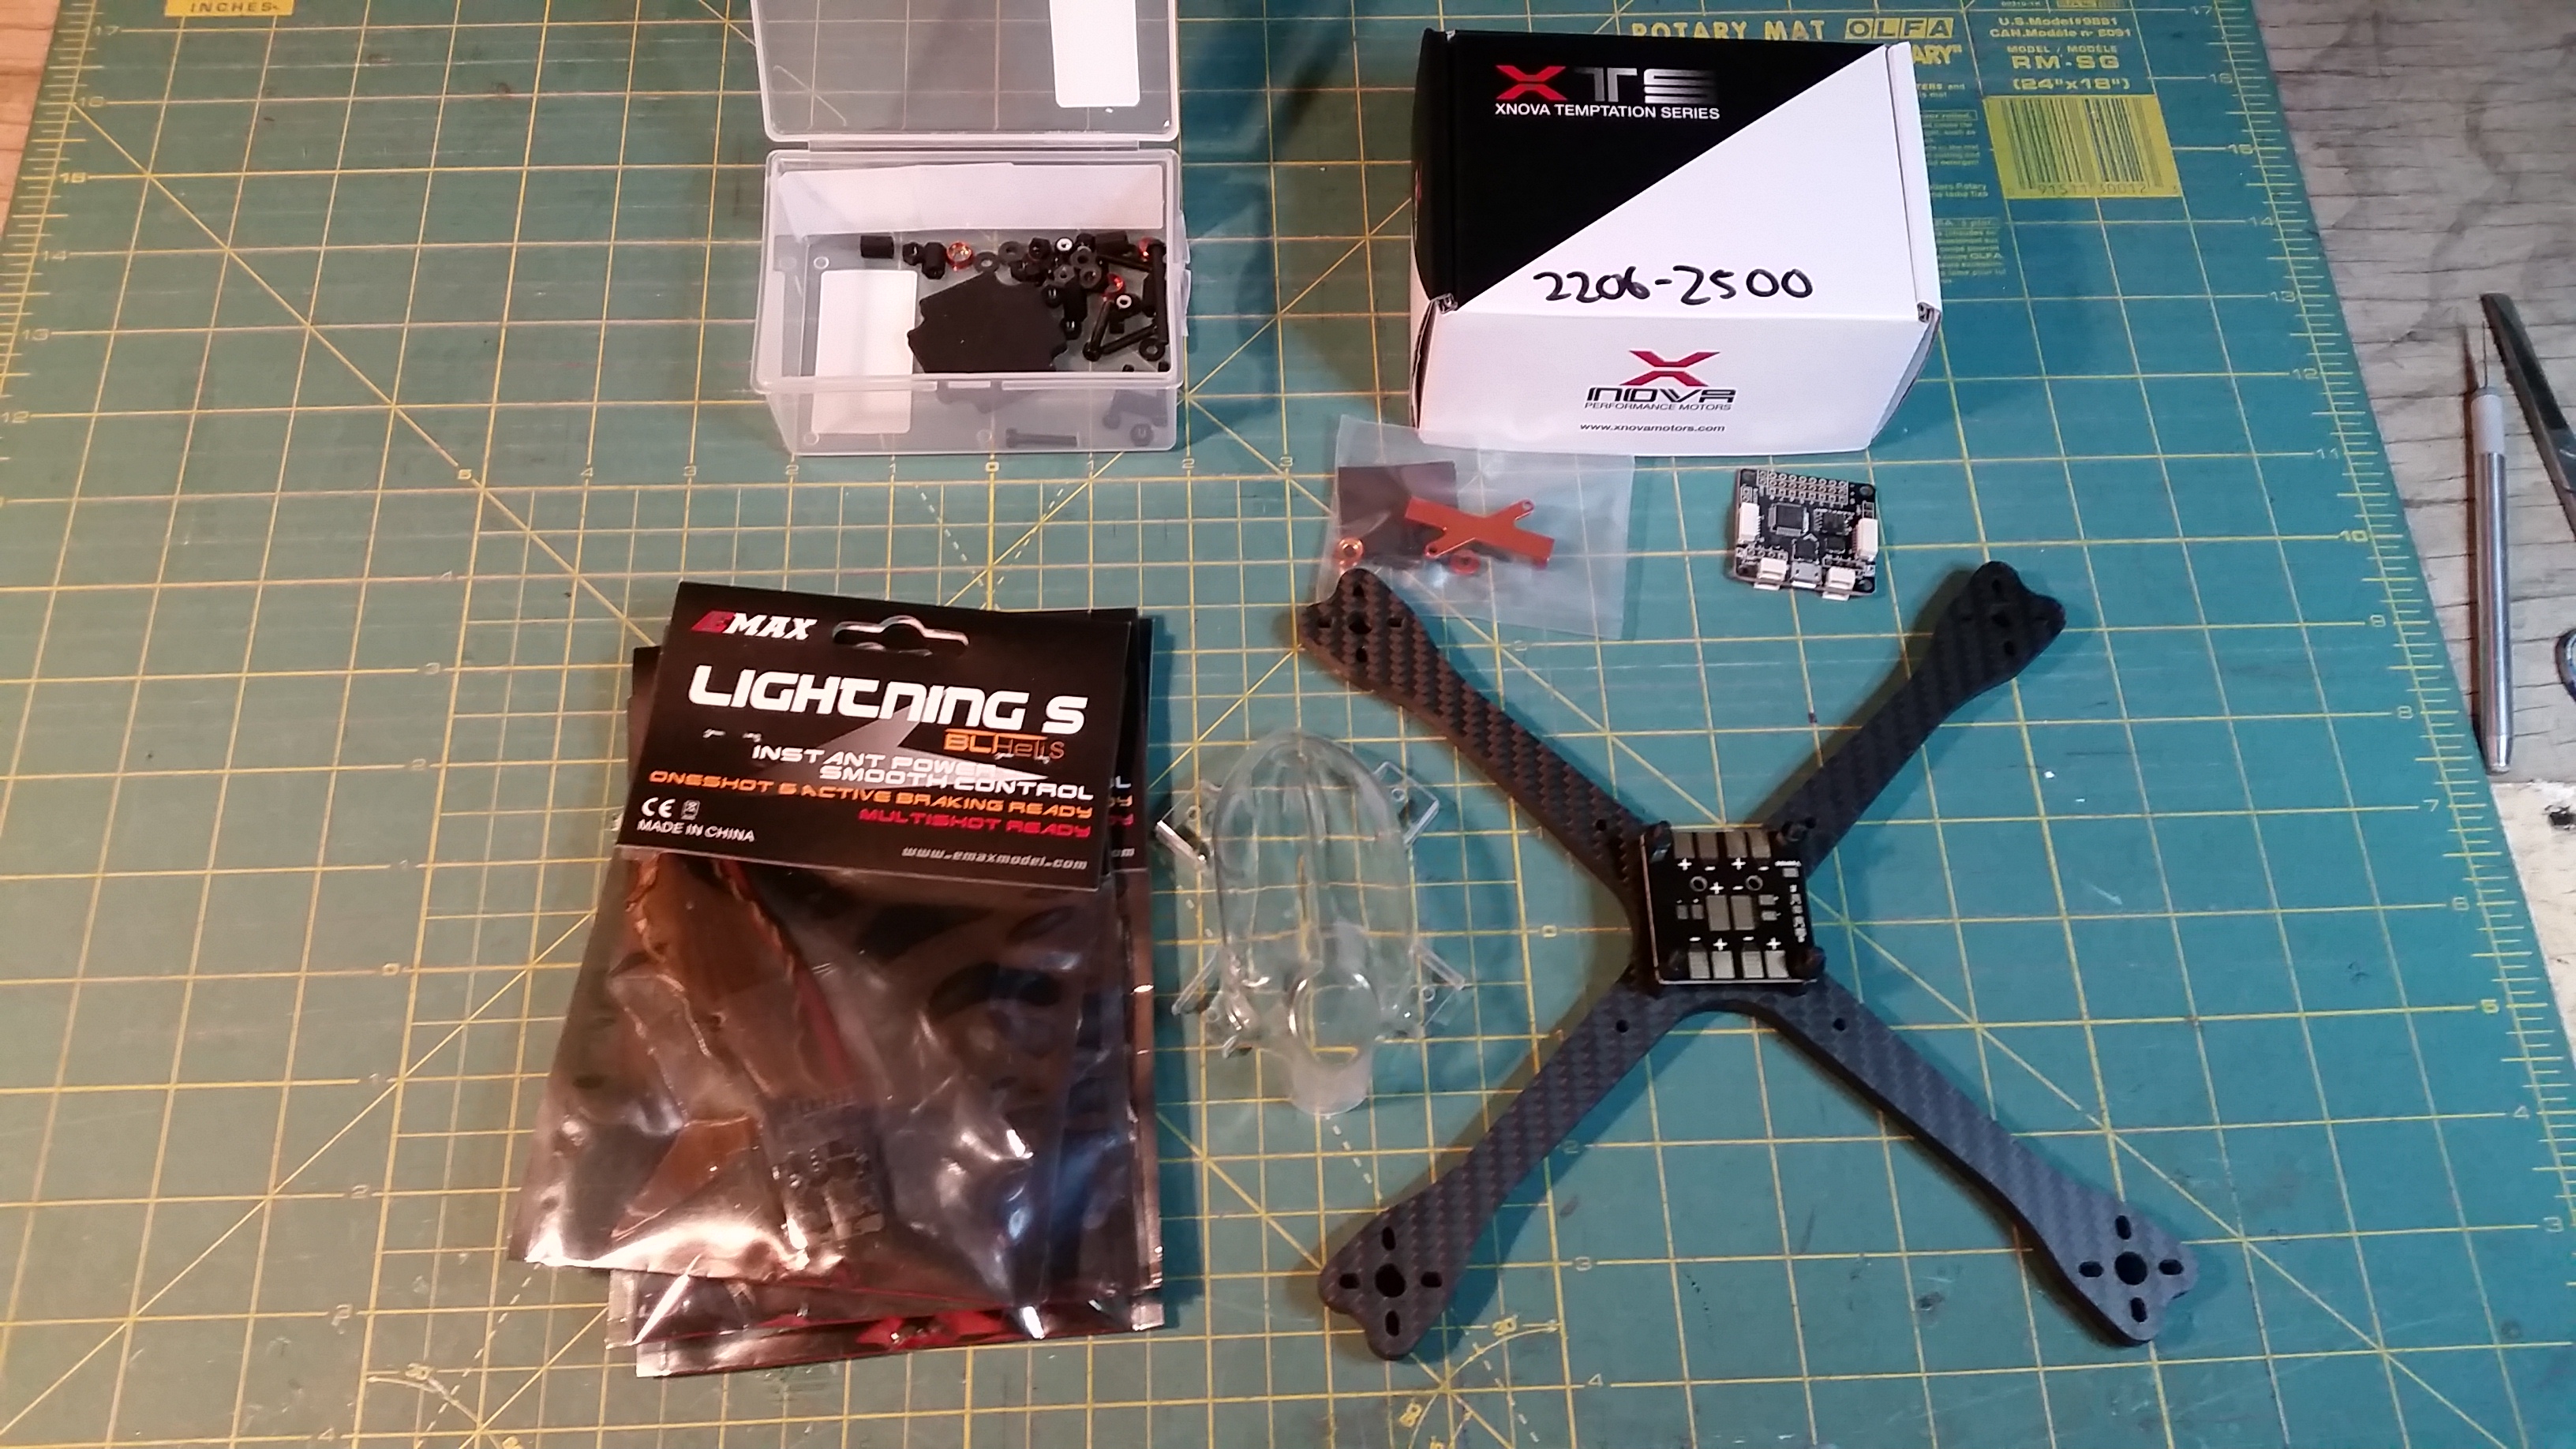
BoltRC Kraken build (K5/K6)
A challenging build due to the need to fit all components into a small area. Not for beginners. Direct soldering to FC and most likely some modifications needed to other parts. Please note there are pictures below from multiple builds where different methods were used. They are not sequential and parts and layout differ from picture to picture.
The first decision you will need to may is how to mount and route your motor/ESC wires. There is a few possibilities here with each method having pros and cons.
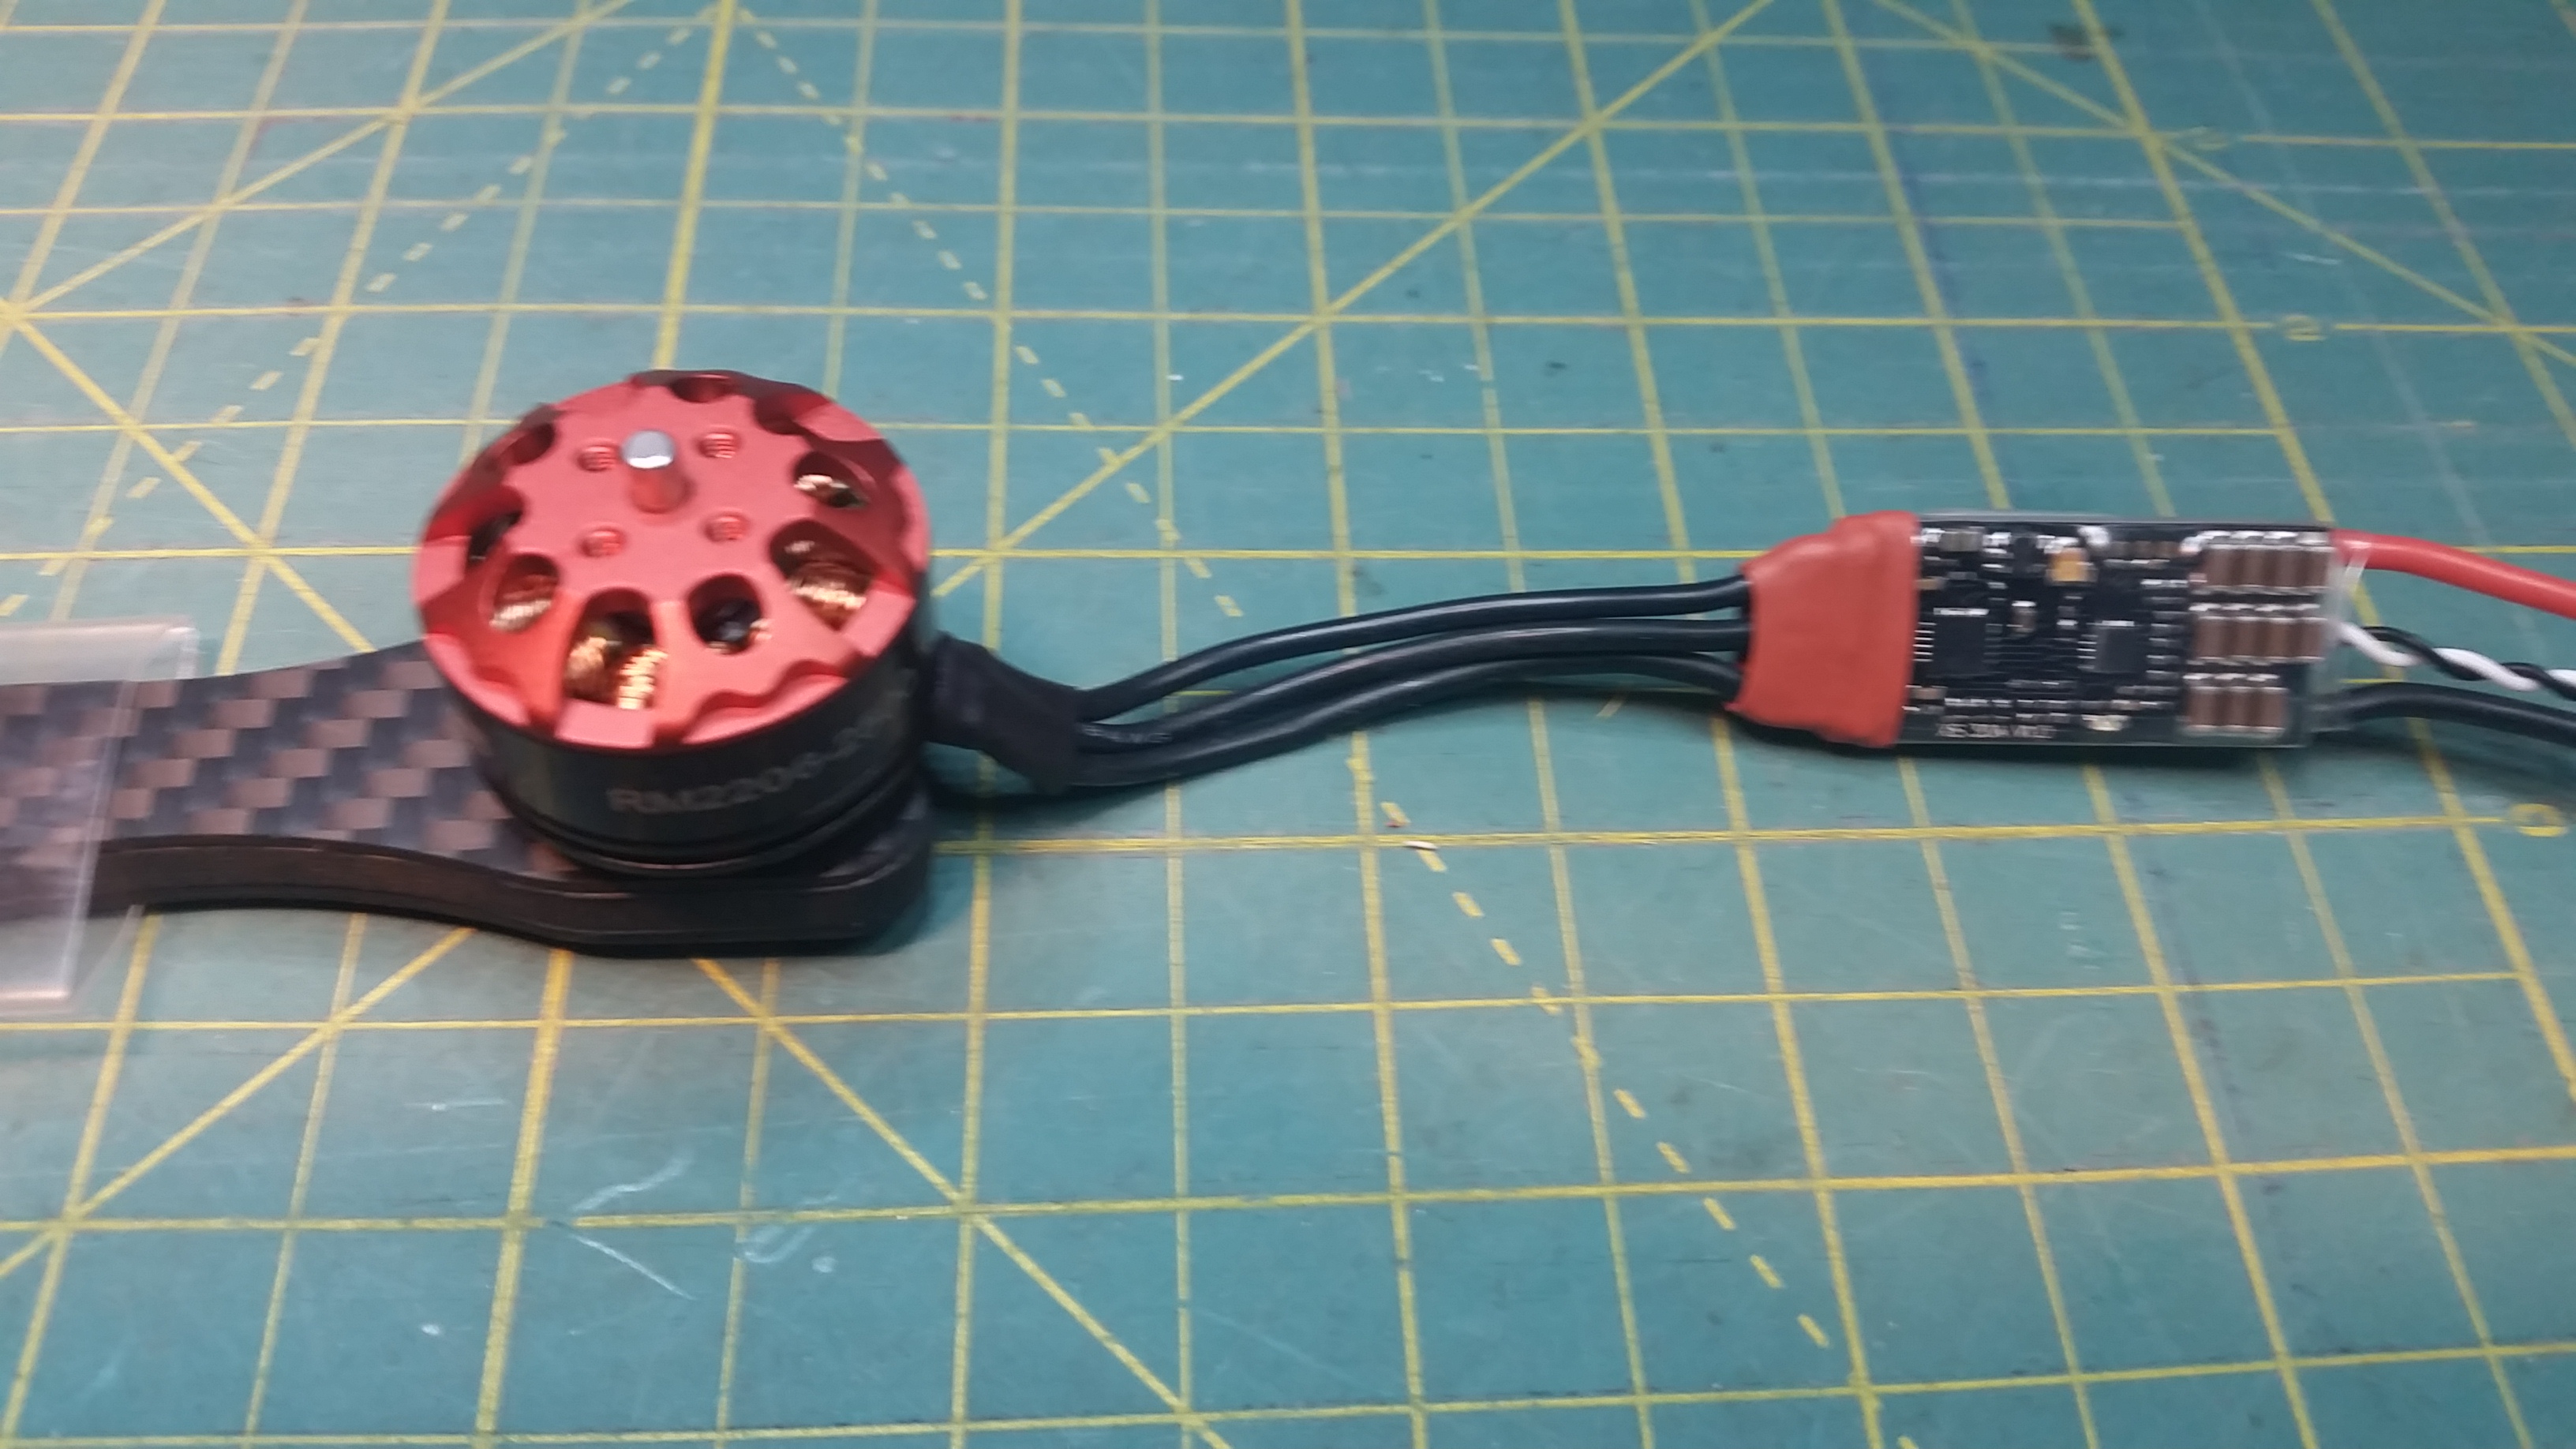
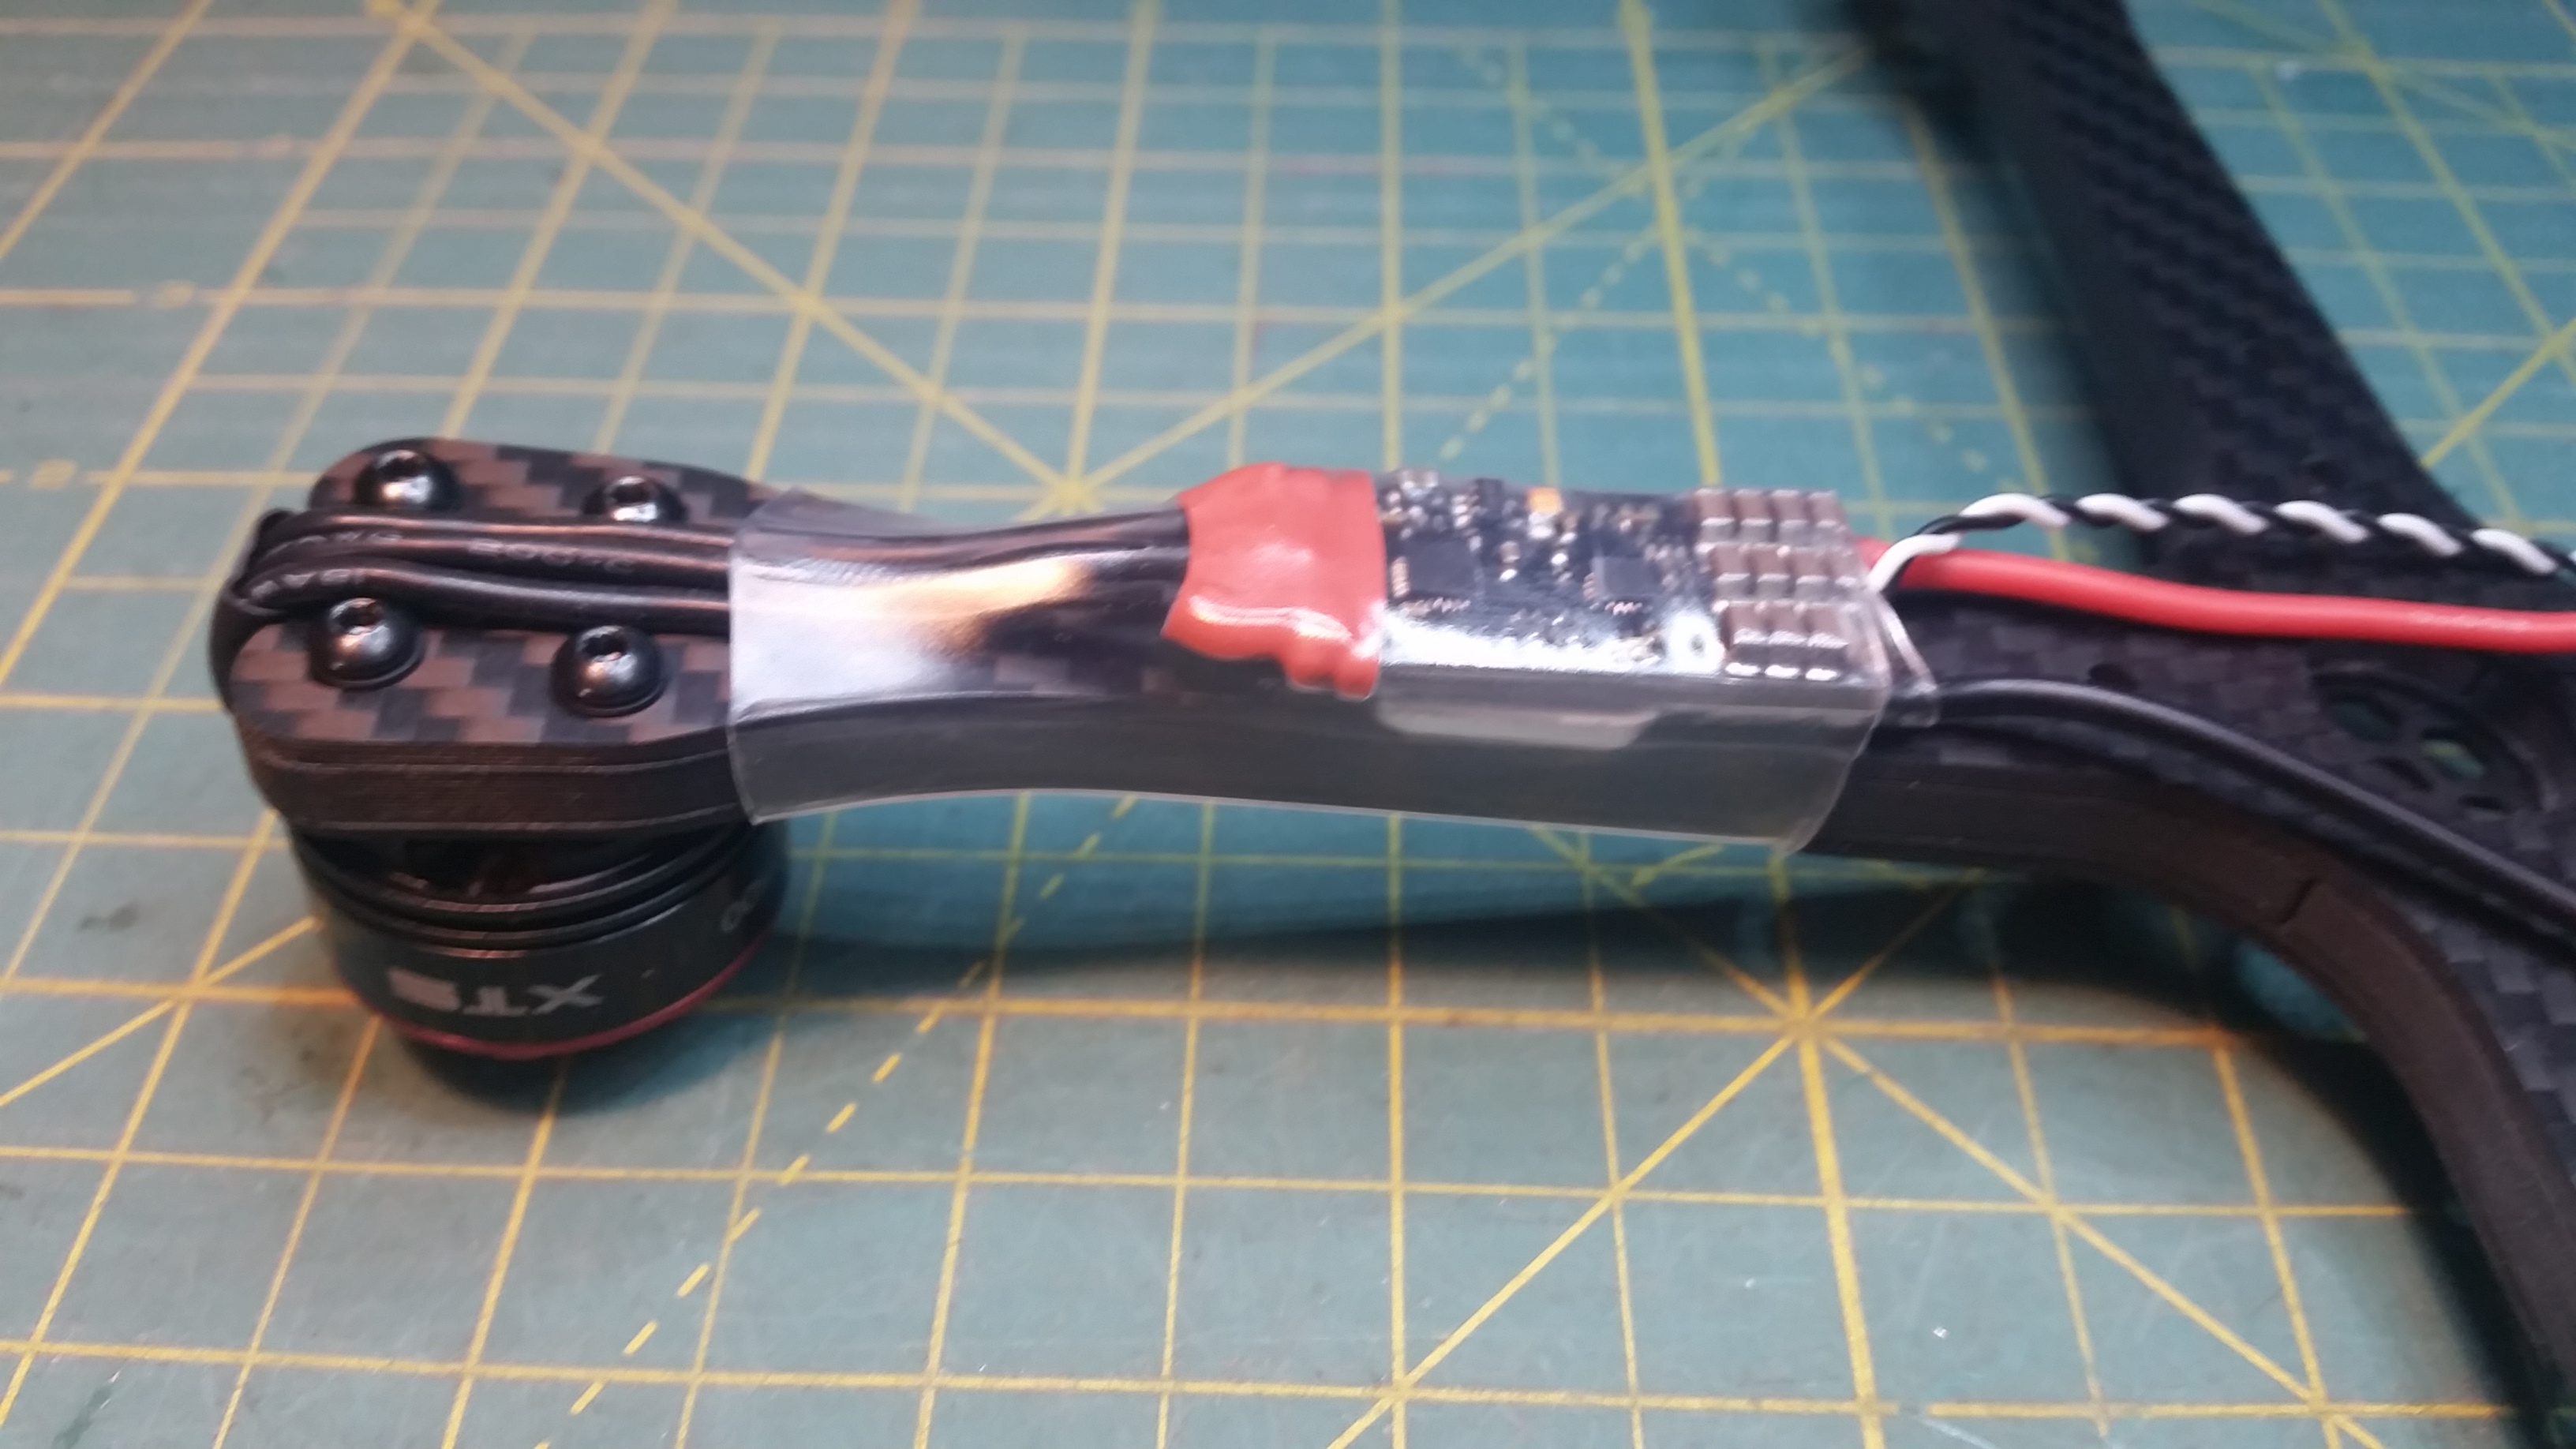
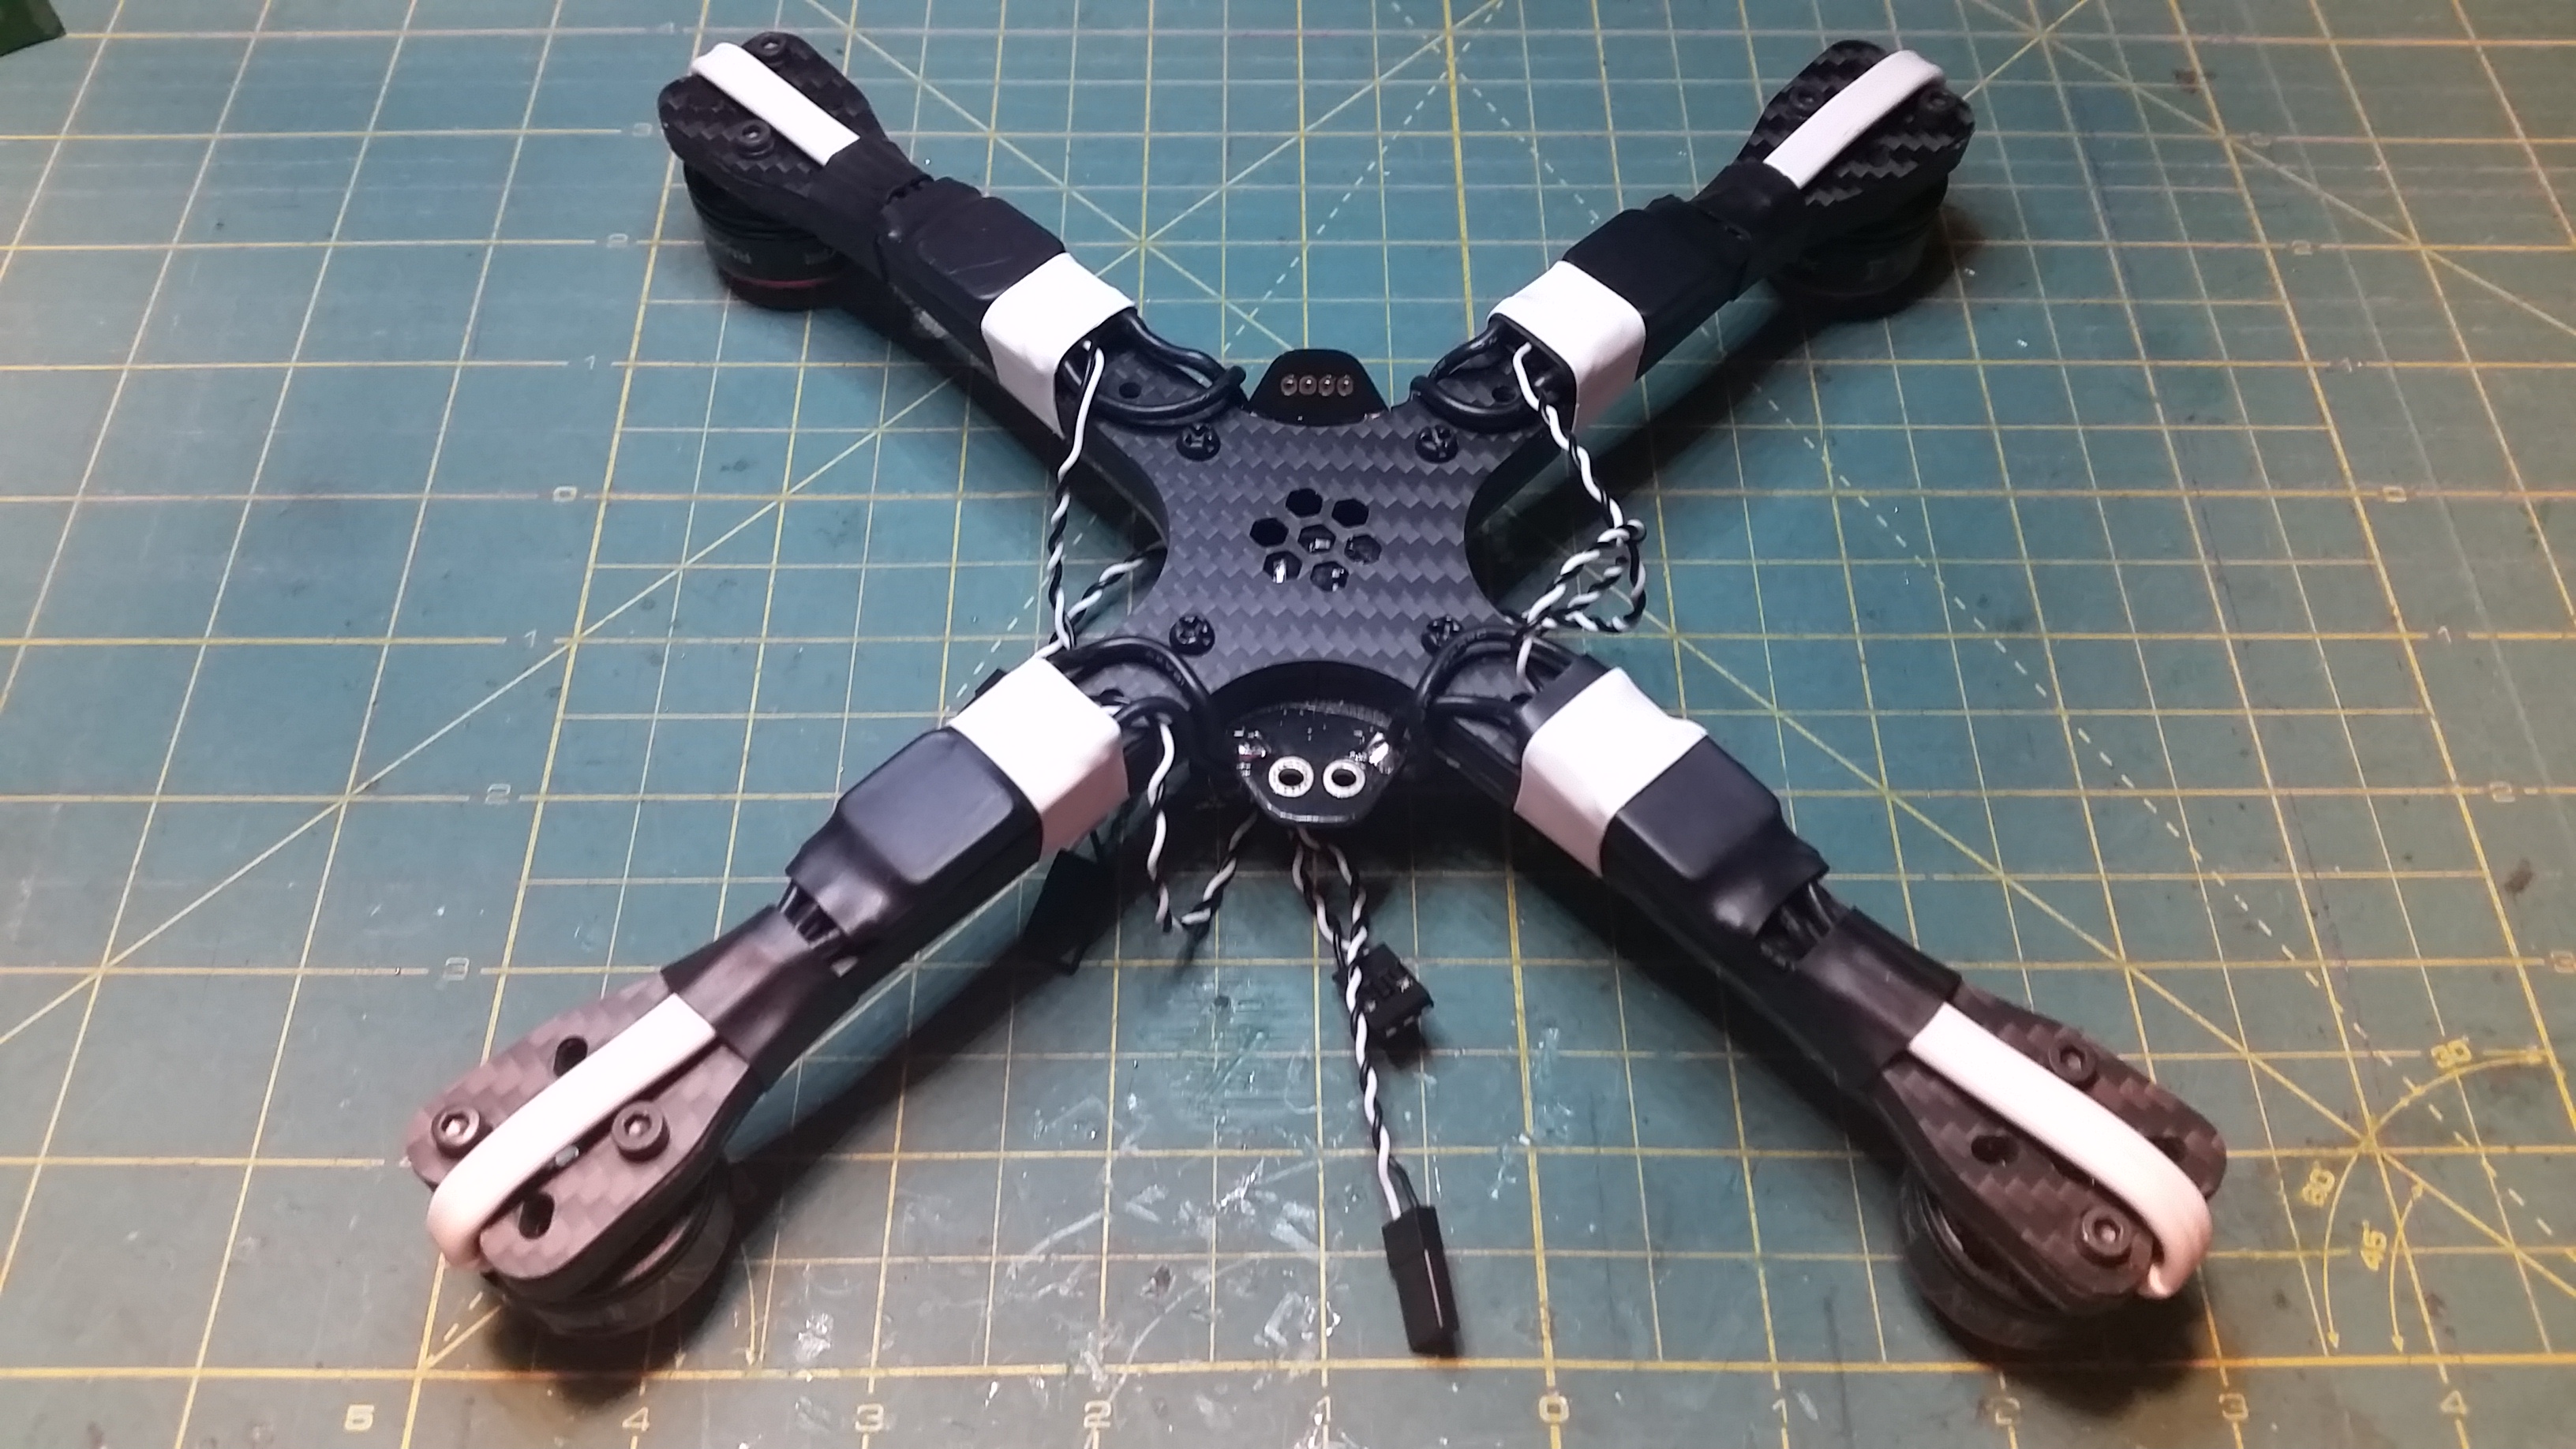
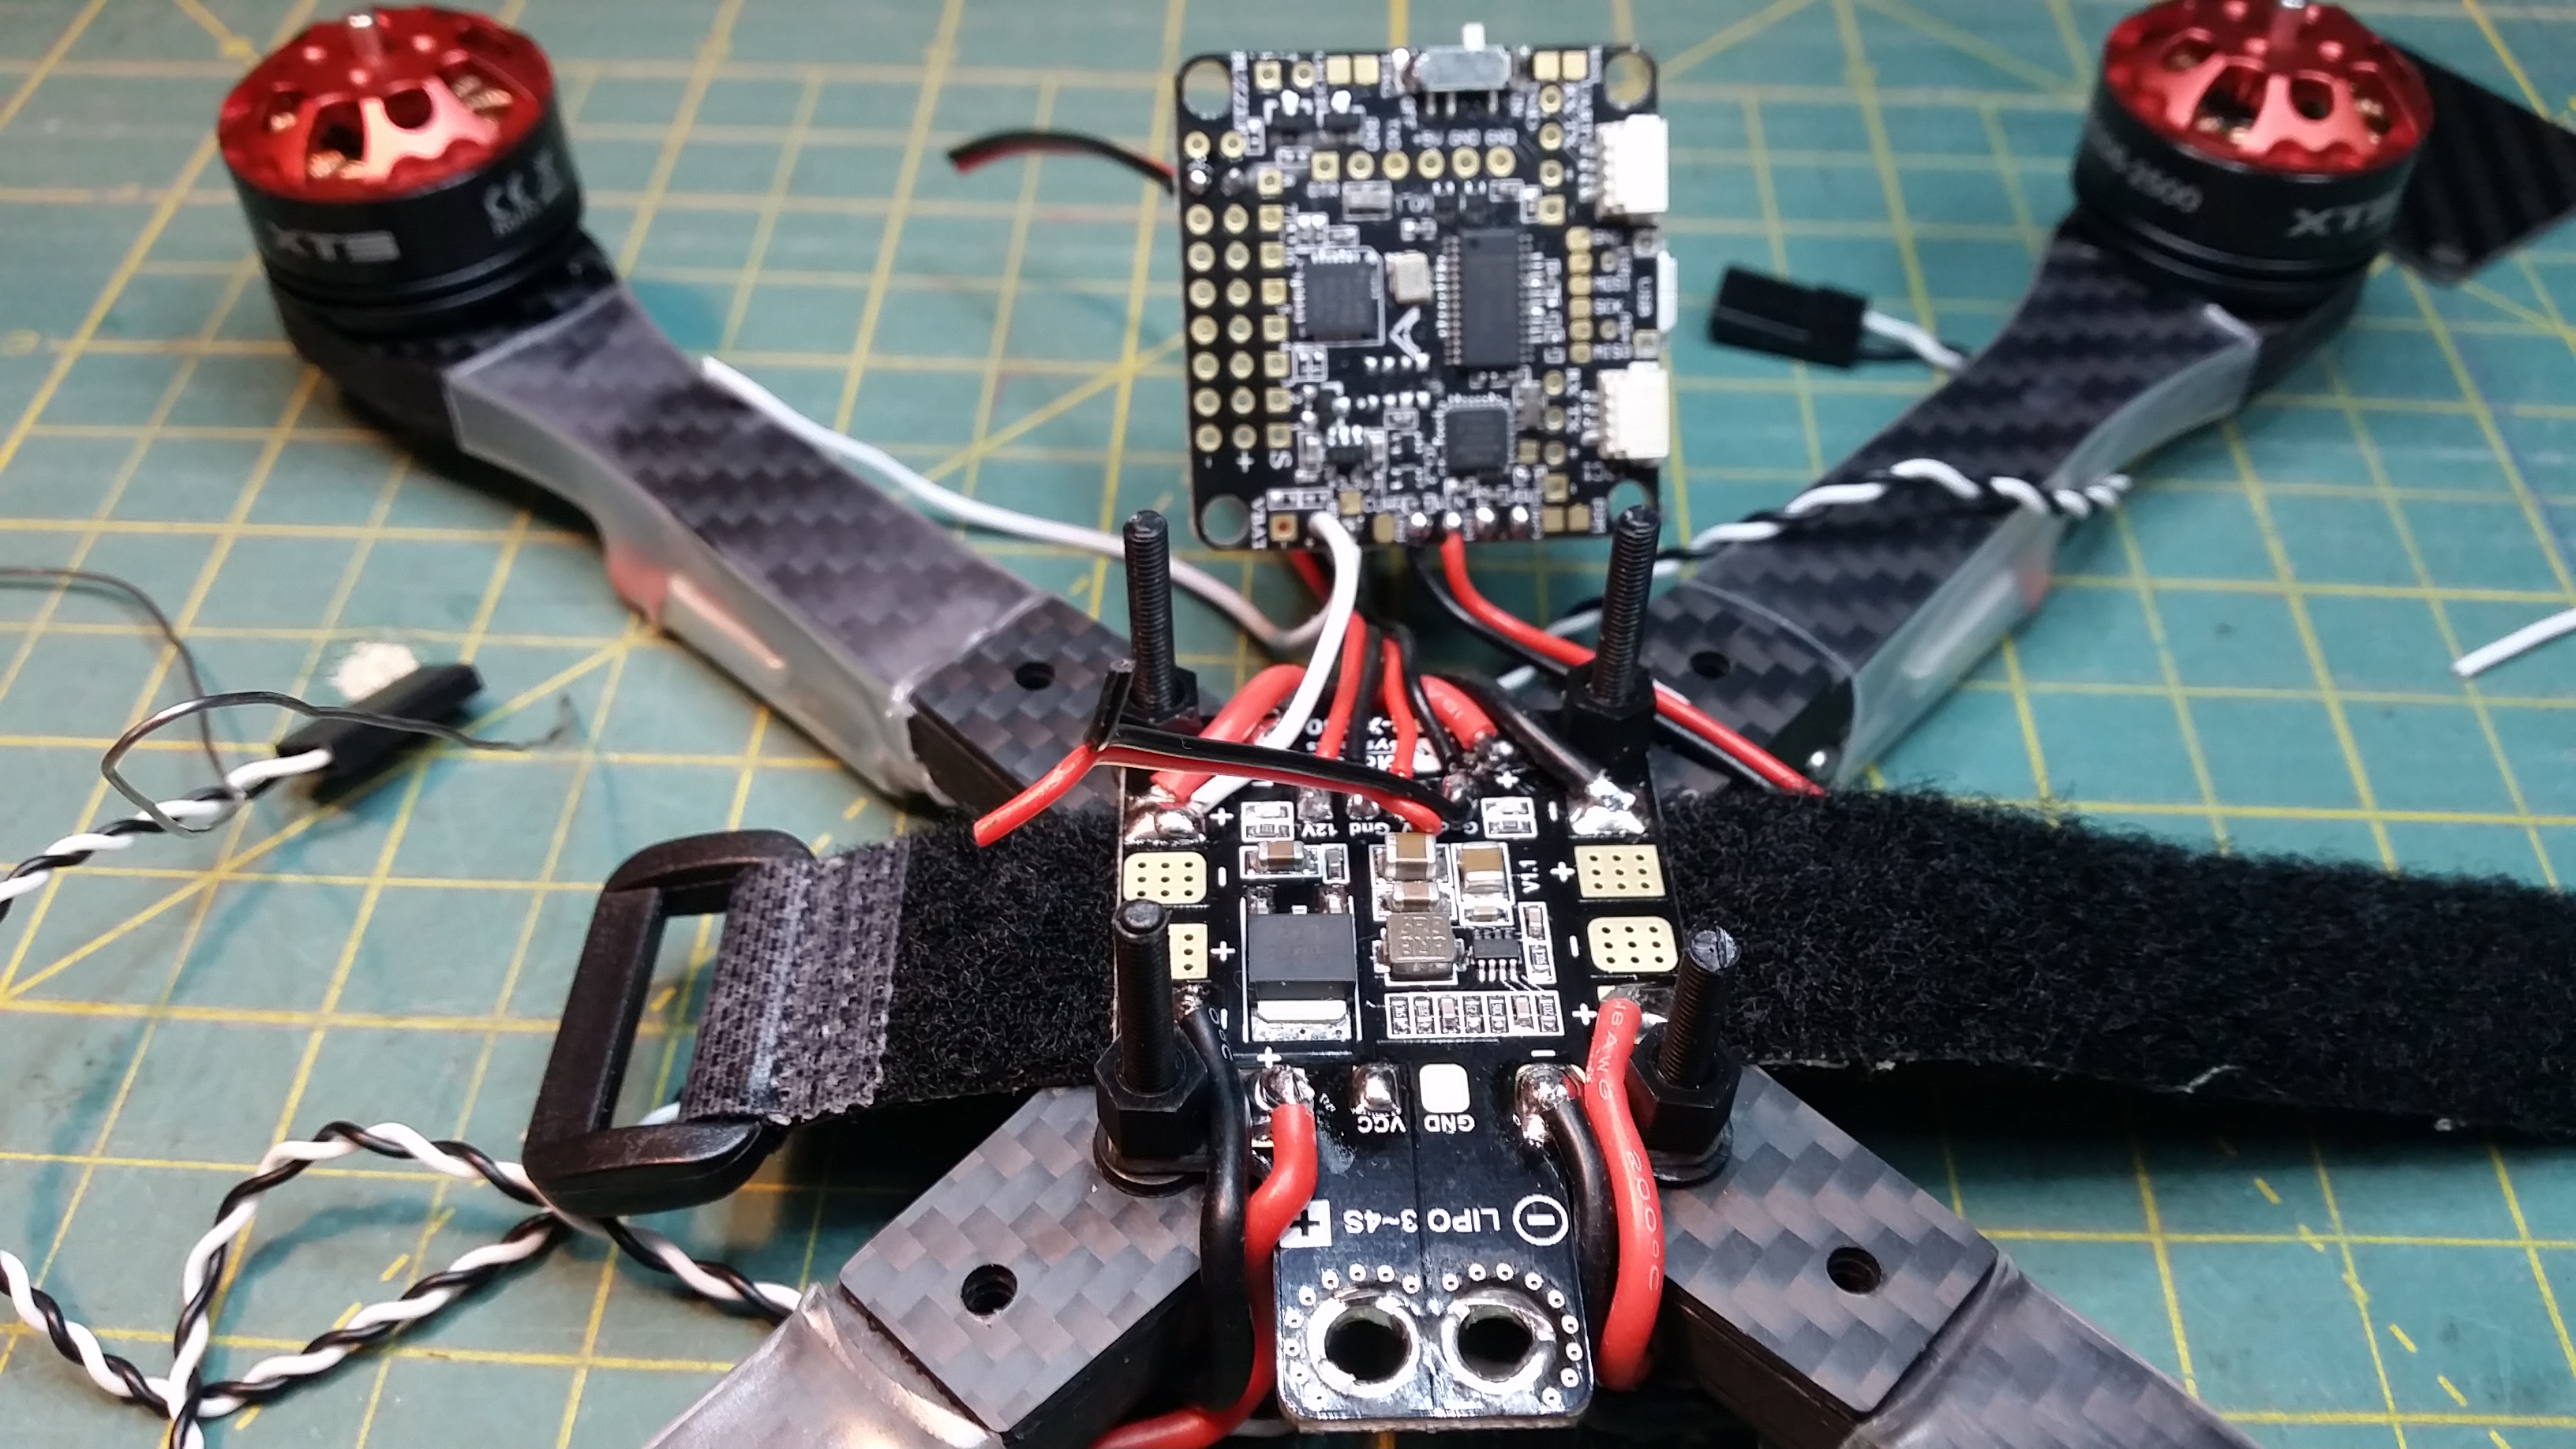
In the picture below you can see the motor is mounted with the ESC wires wrapped around the arm, with the ESC mounted underneath the arm. This can protect the ESC from prop strikes, but also allows for the easy routing of power wires to the PDB, away from the edges of the Lexan shell. If you choose to mount your ESC on top, be sure to allow adequate clearance of the power wires to reach the PDB without rubbing against the shell.
An alternative method is to mount the motor “backwards” with the wires pointing away from the center. Route the motor wires down and underneath to the ESC, making sure to insulate the parts that come into contact with the edges of the frame with shrink wrap or nylon braid.
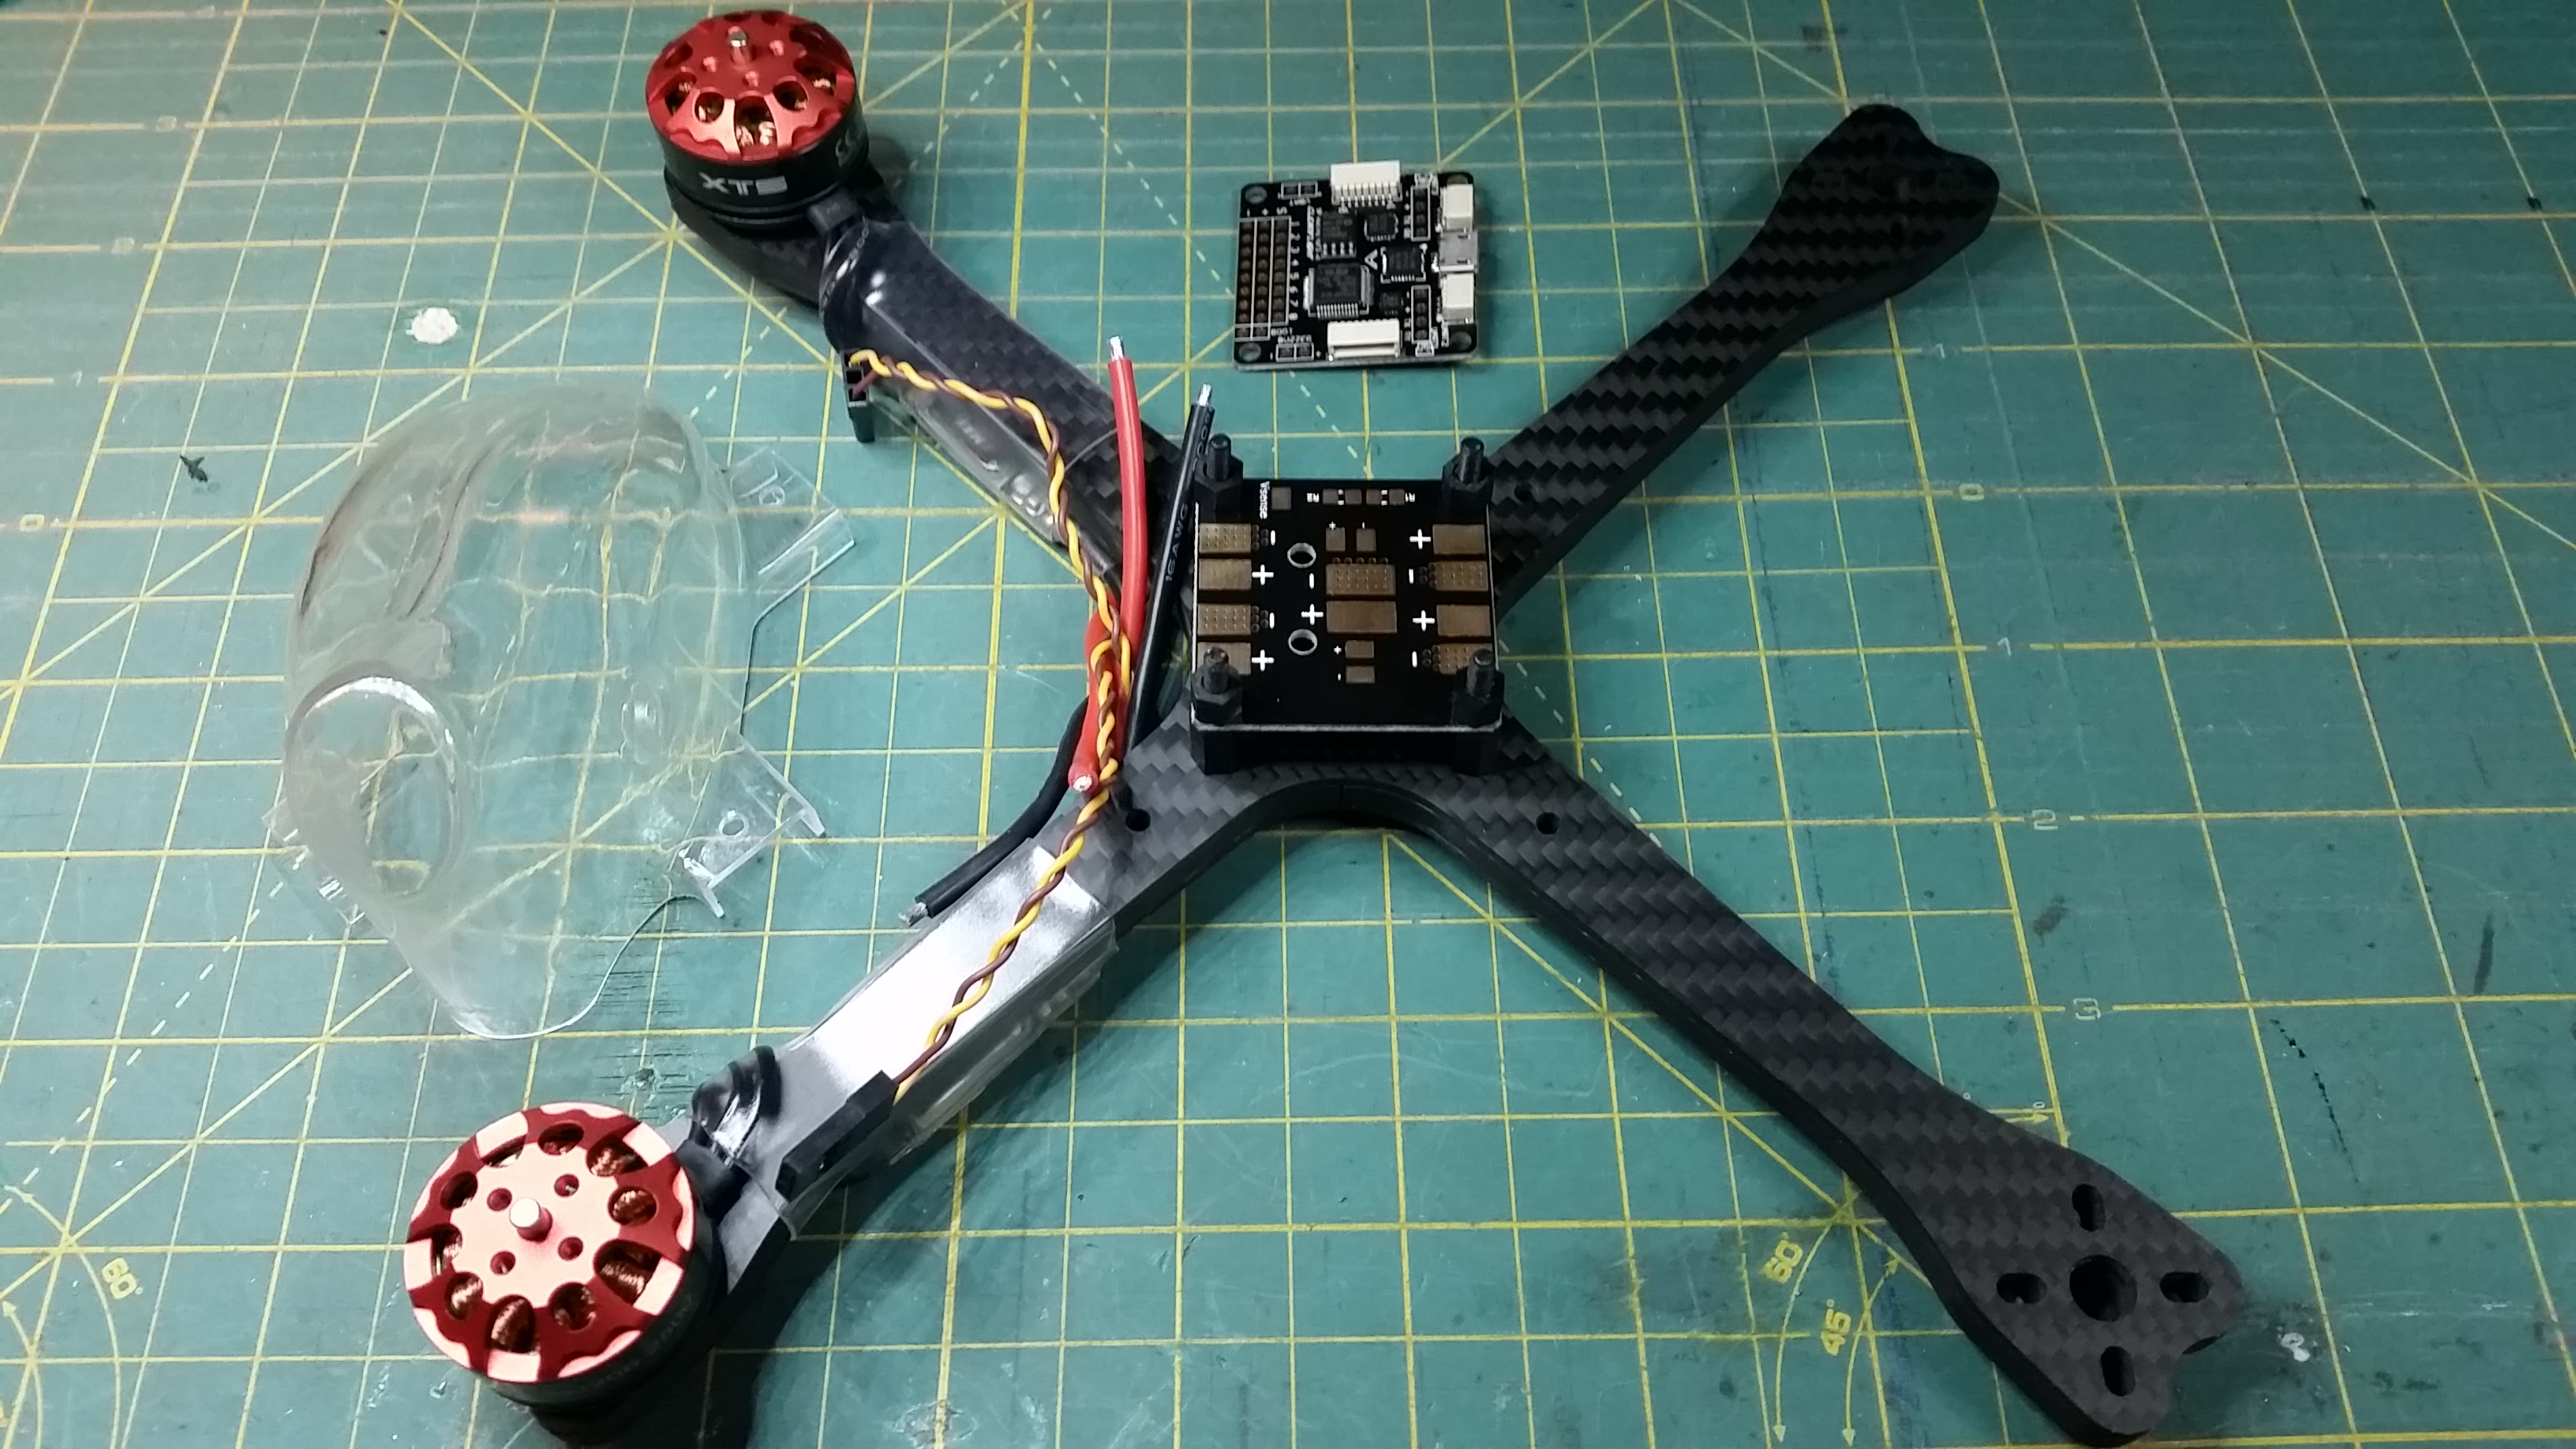
From here you need to mount your ESC making sure you have enough room to clear the bolt holes for the shell and FC stack. Route your ESC power wires up to the PDB, place your shell ontop before you solder to make sure you have enough clearance. You dont have to use the BoltRC PDB but it does strengthen the frame a little more as well as offer some more realestate for mounting extras. Make sure you mount the negative side down onto the frame.
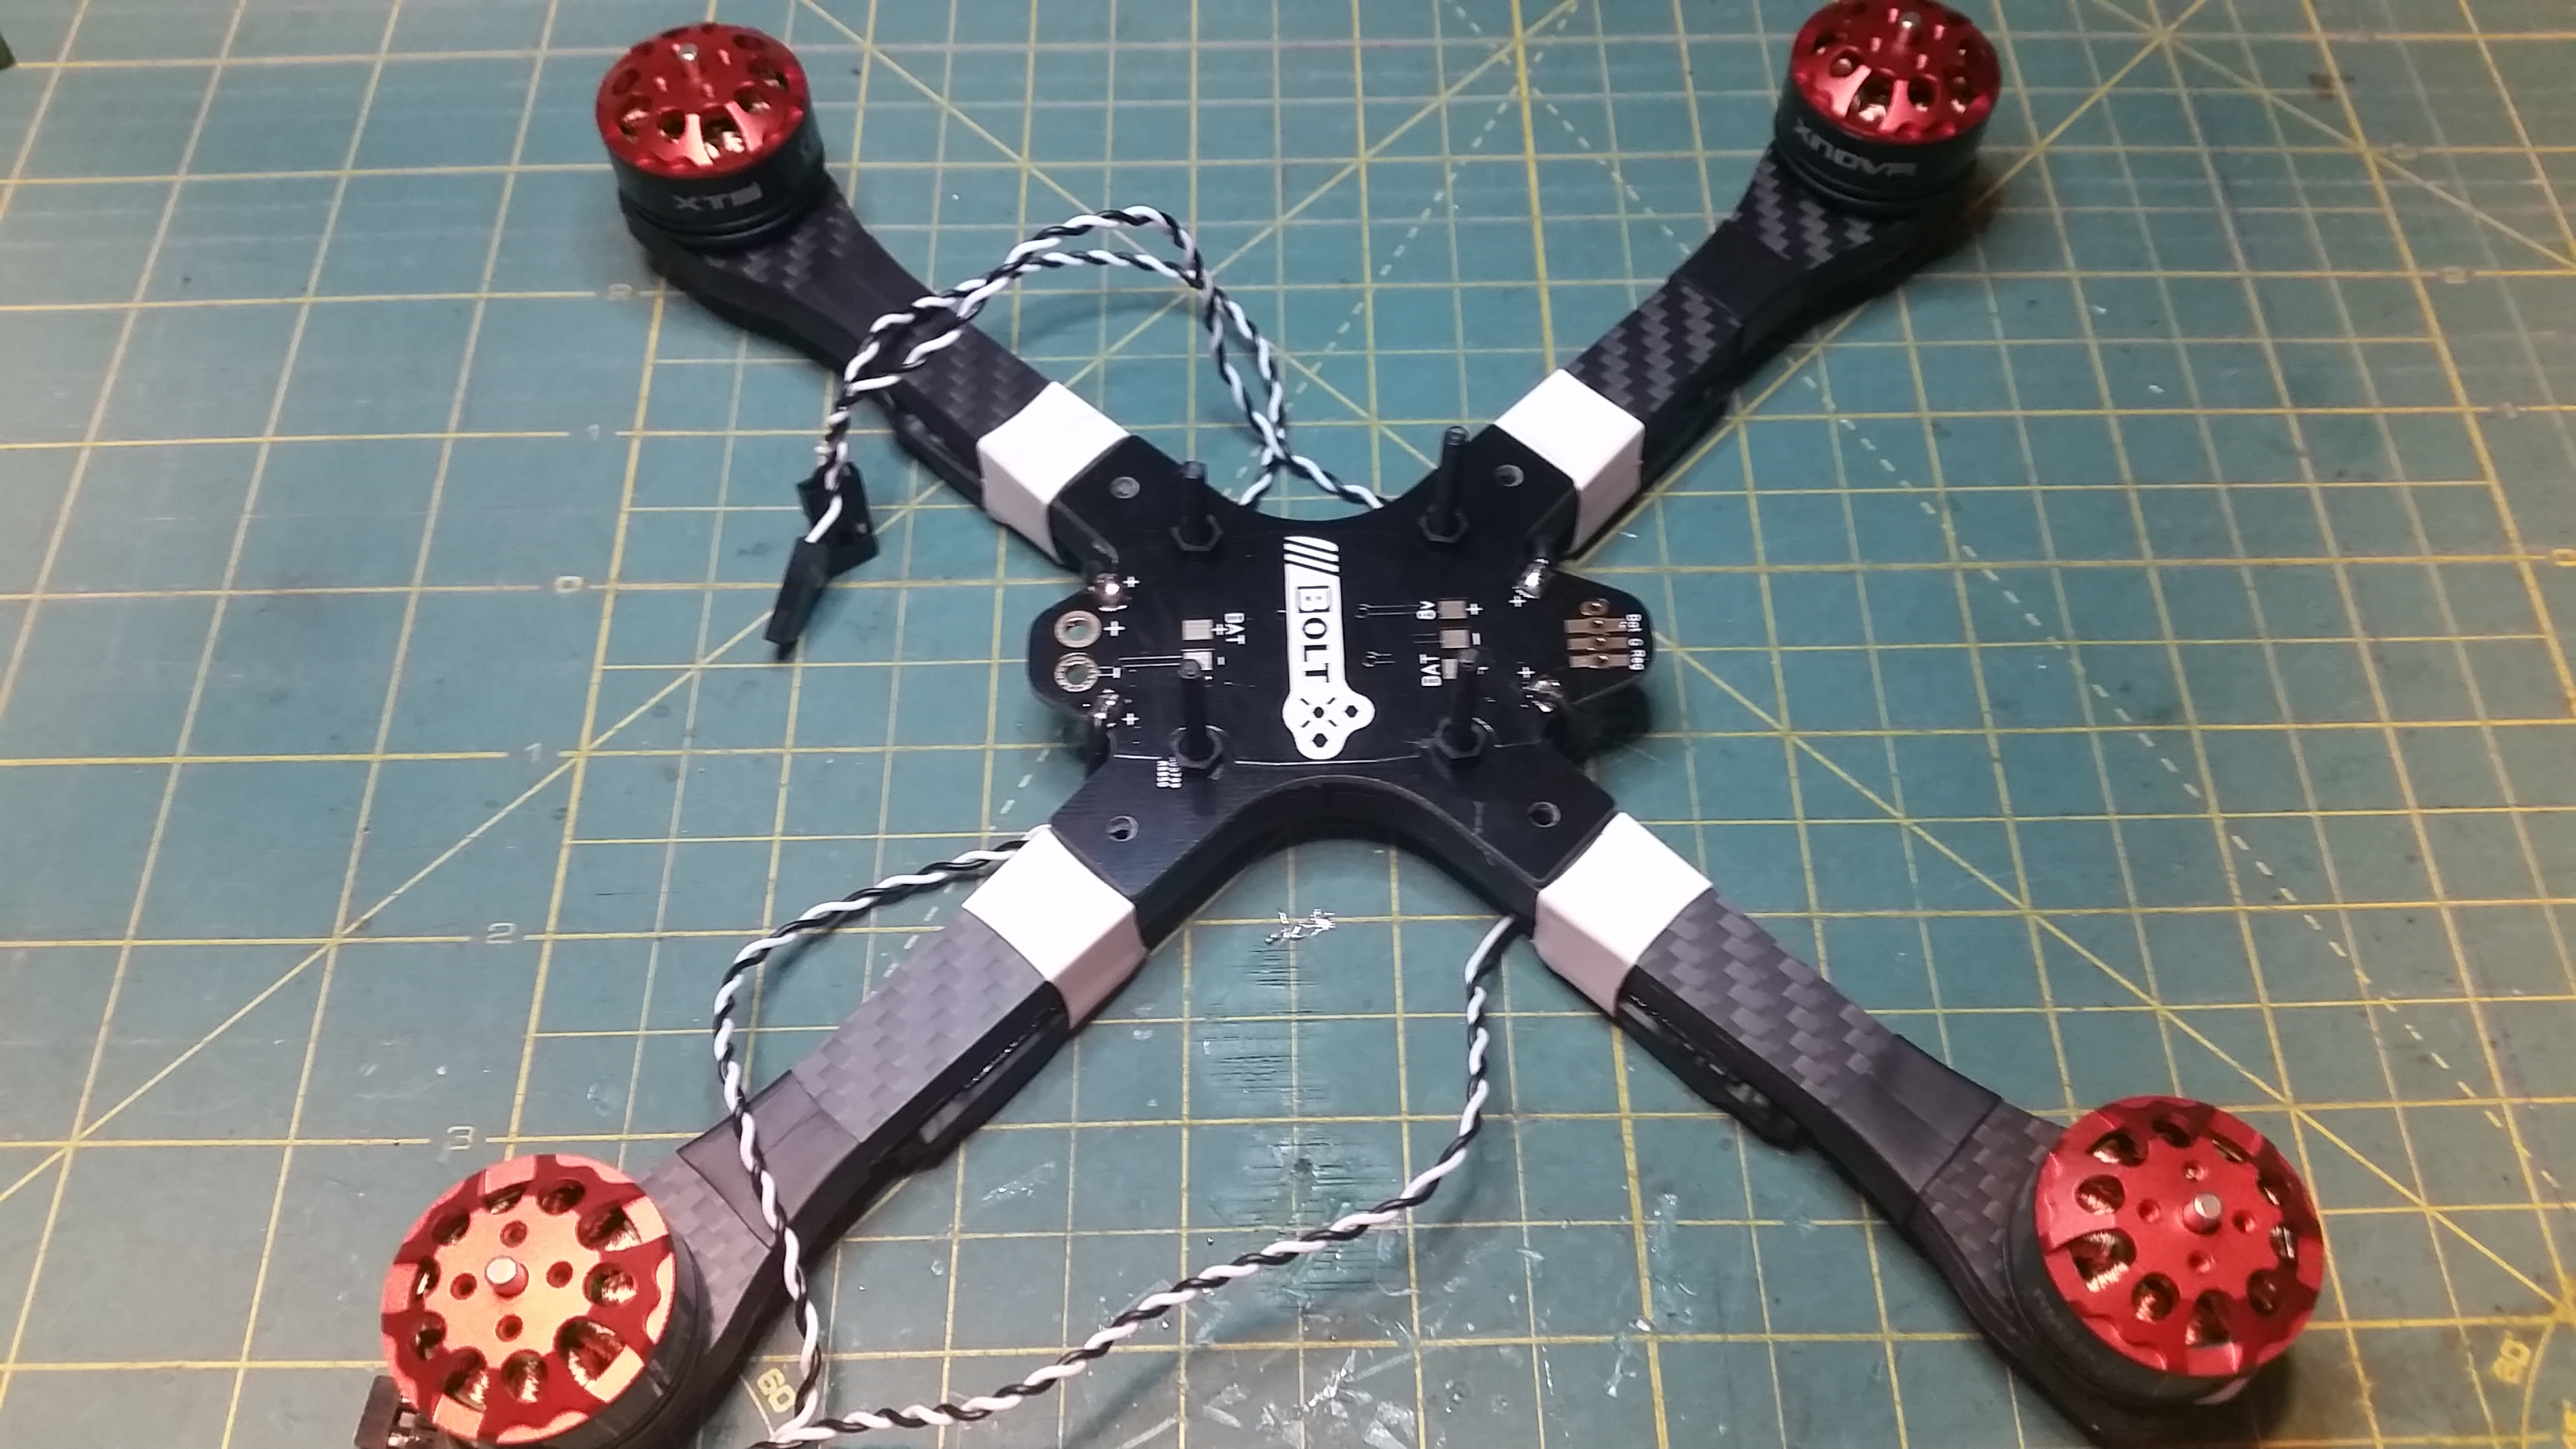
Please note, the provided regulator on the PDB is for 8v. If your FC or other components require less you will have to add further regulators.
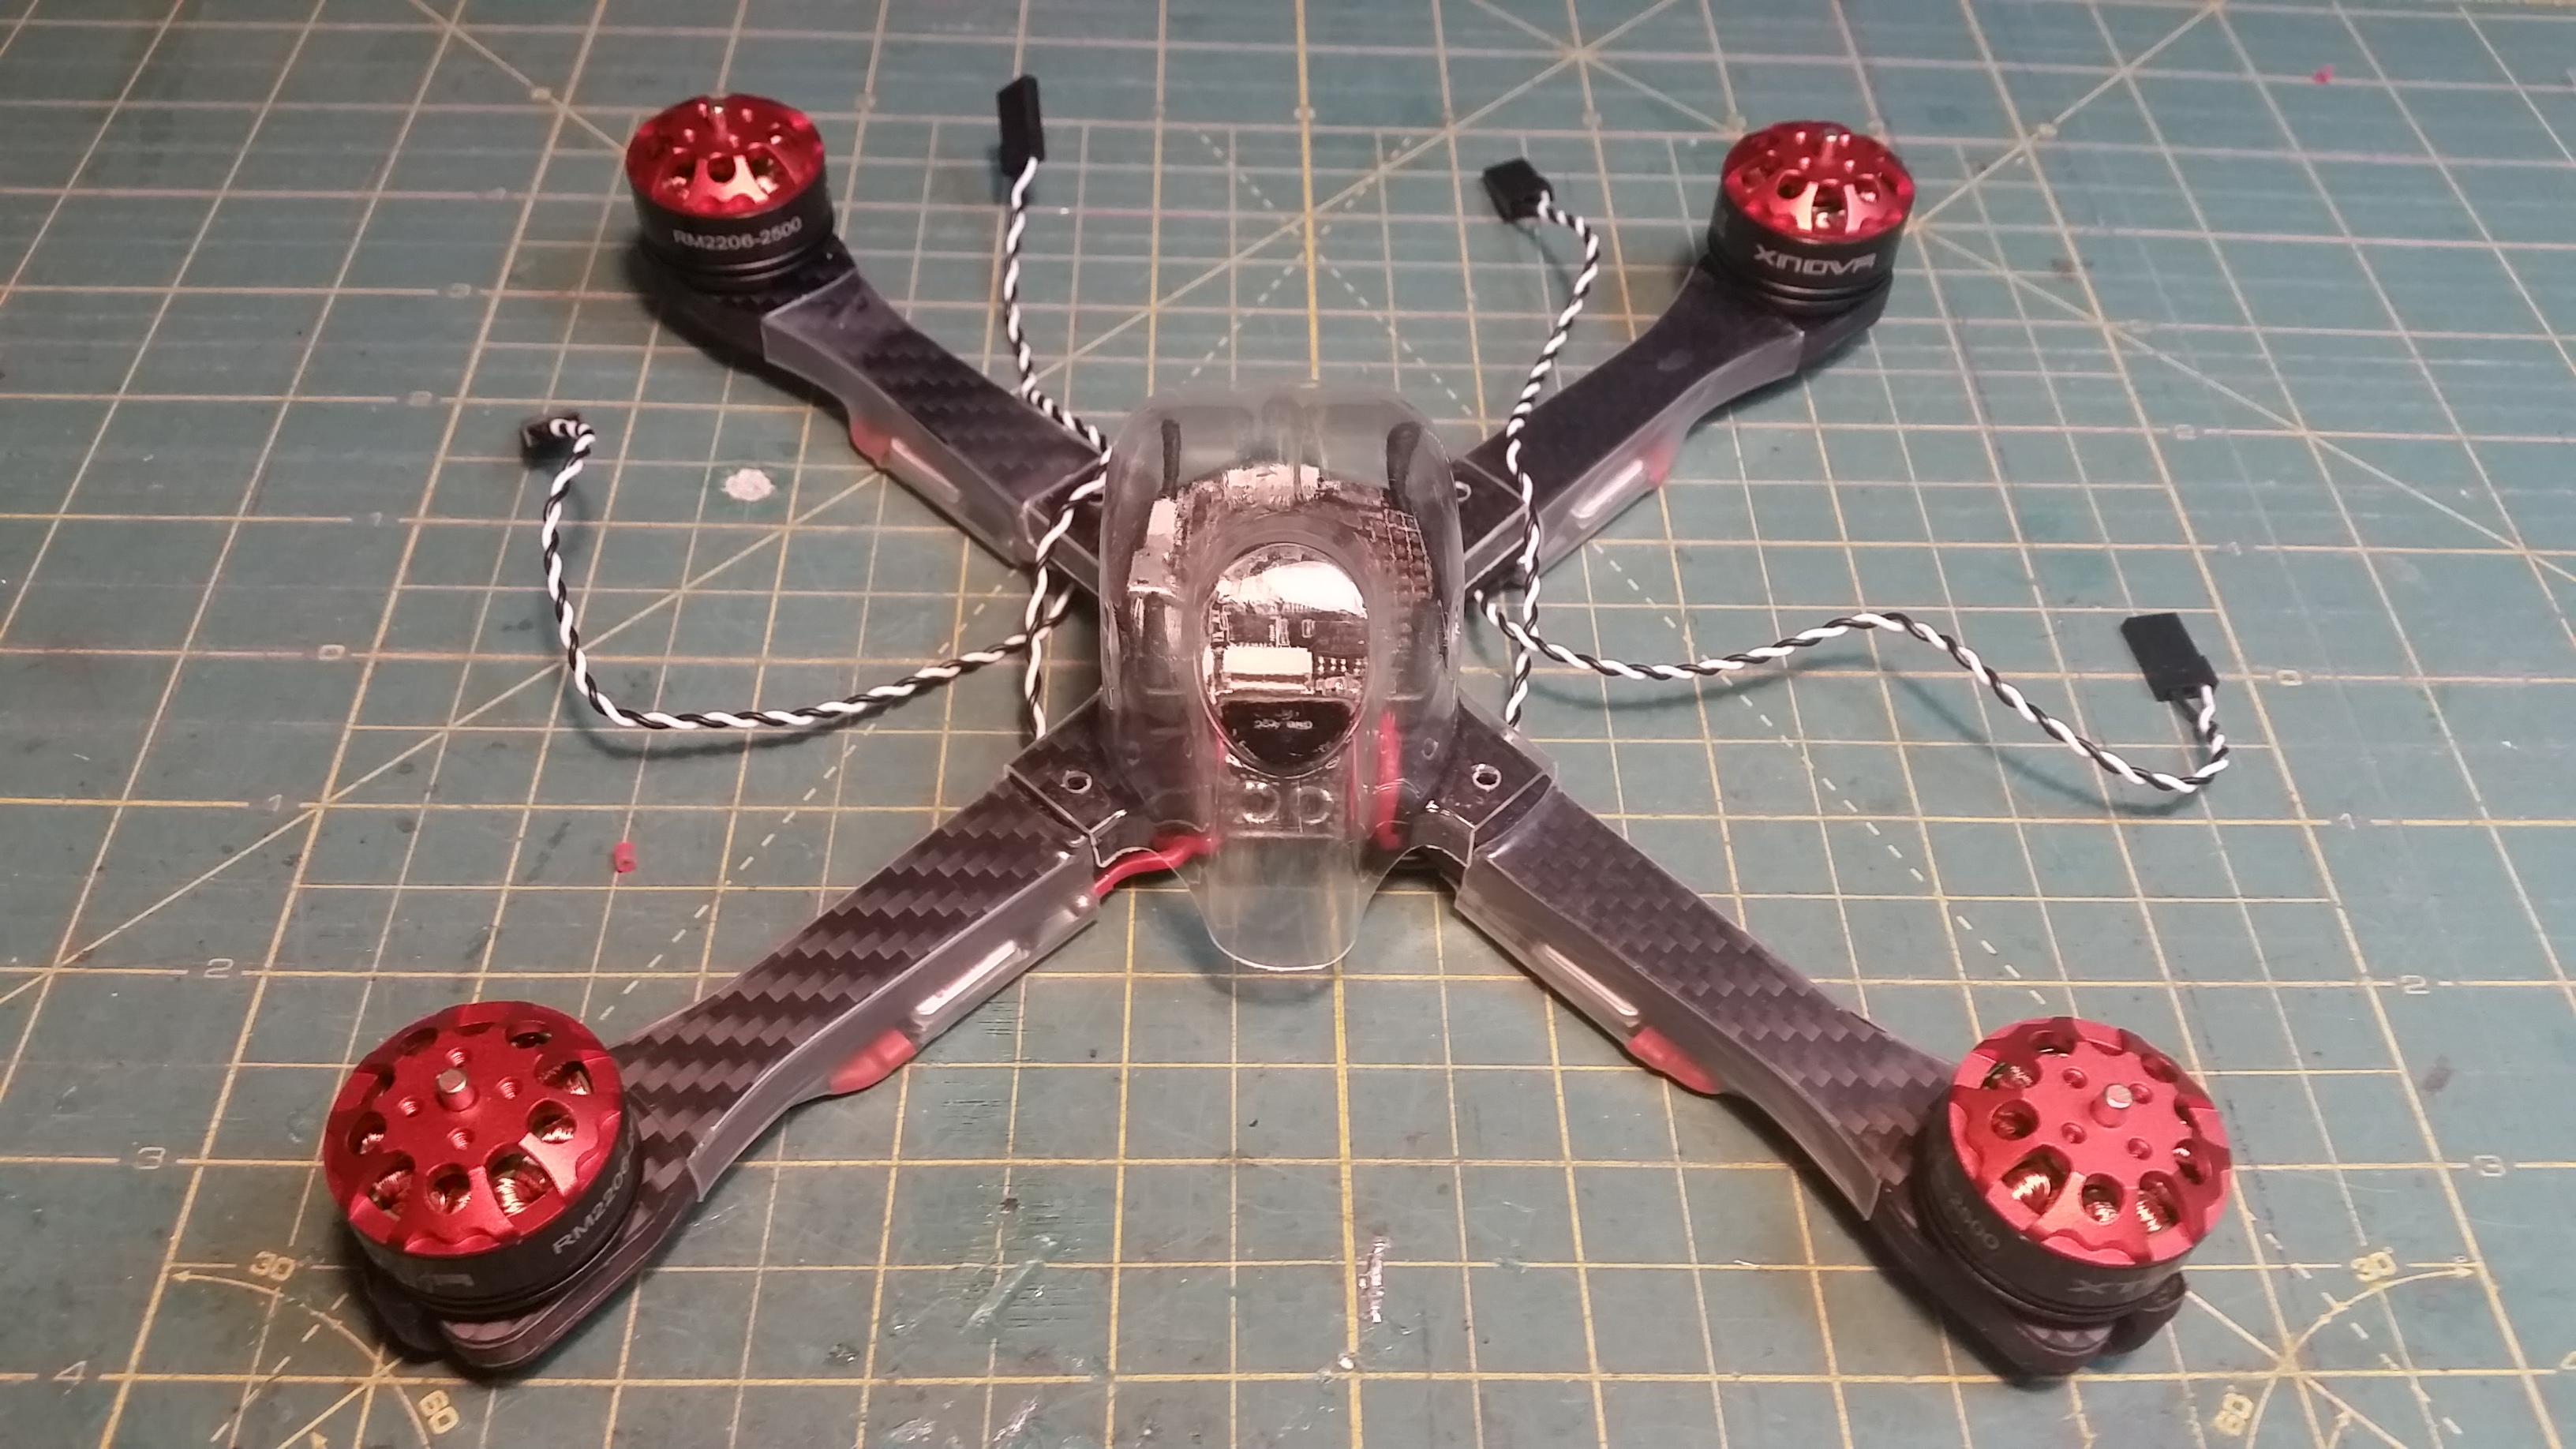
Once your PDB is mounted its time to layout your FC stack. I recommend doing a mock up of this to check that everything you have will fit. To be extra thorough mount your camera with the supplied bracket inside the shell and slip the shell over the top to check clearances.
Consider mounting your strap at this stage then placing your FC over the top. Space your FC with the included spacers so it does not come into contact with the PDB. Be as minimal as possible.
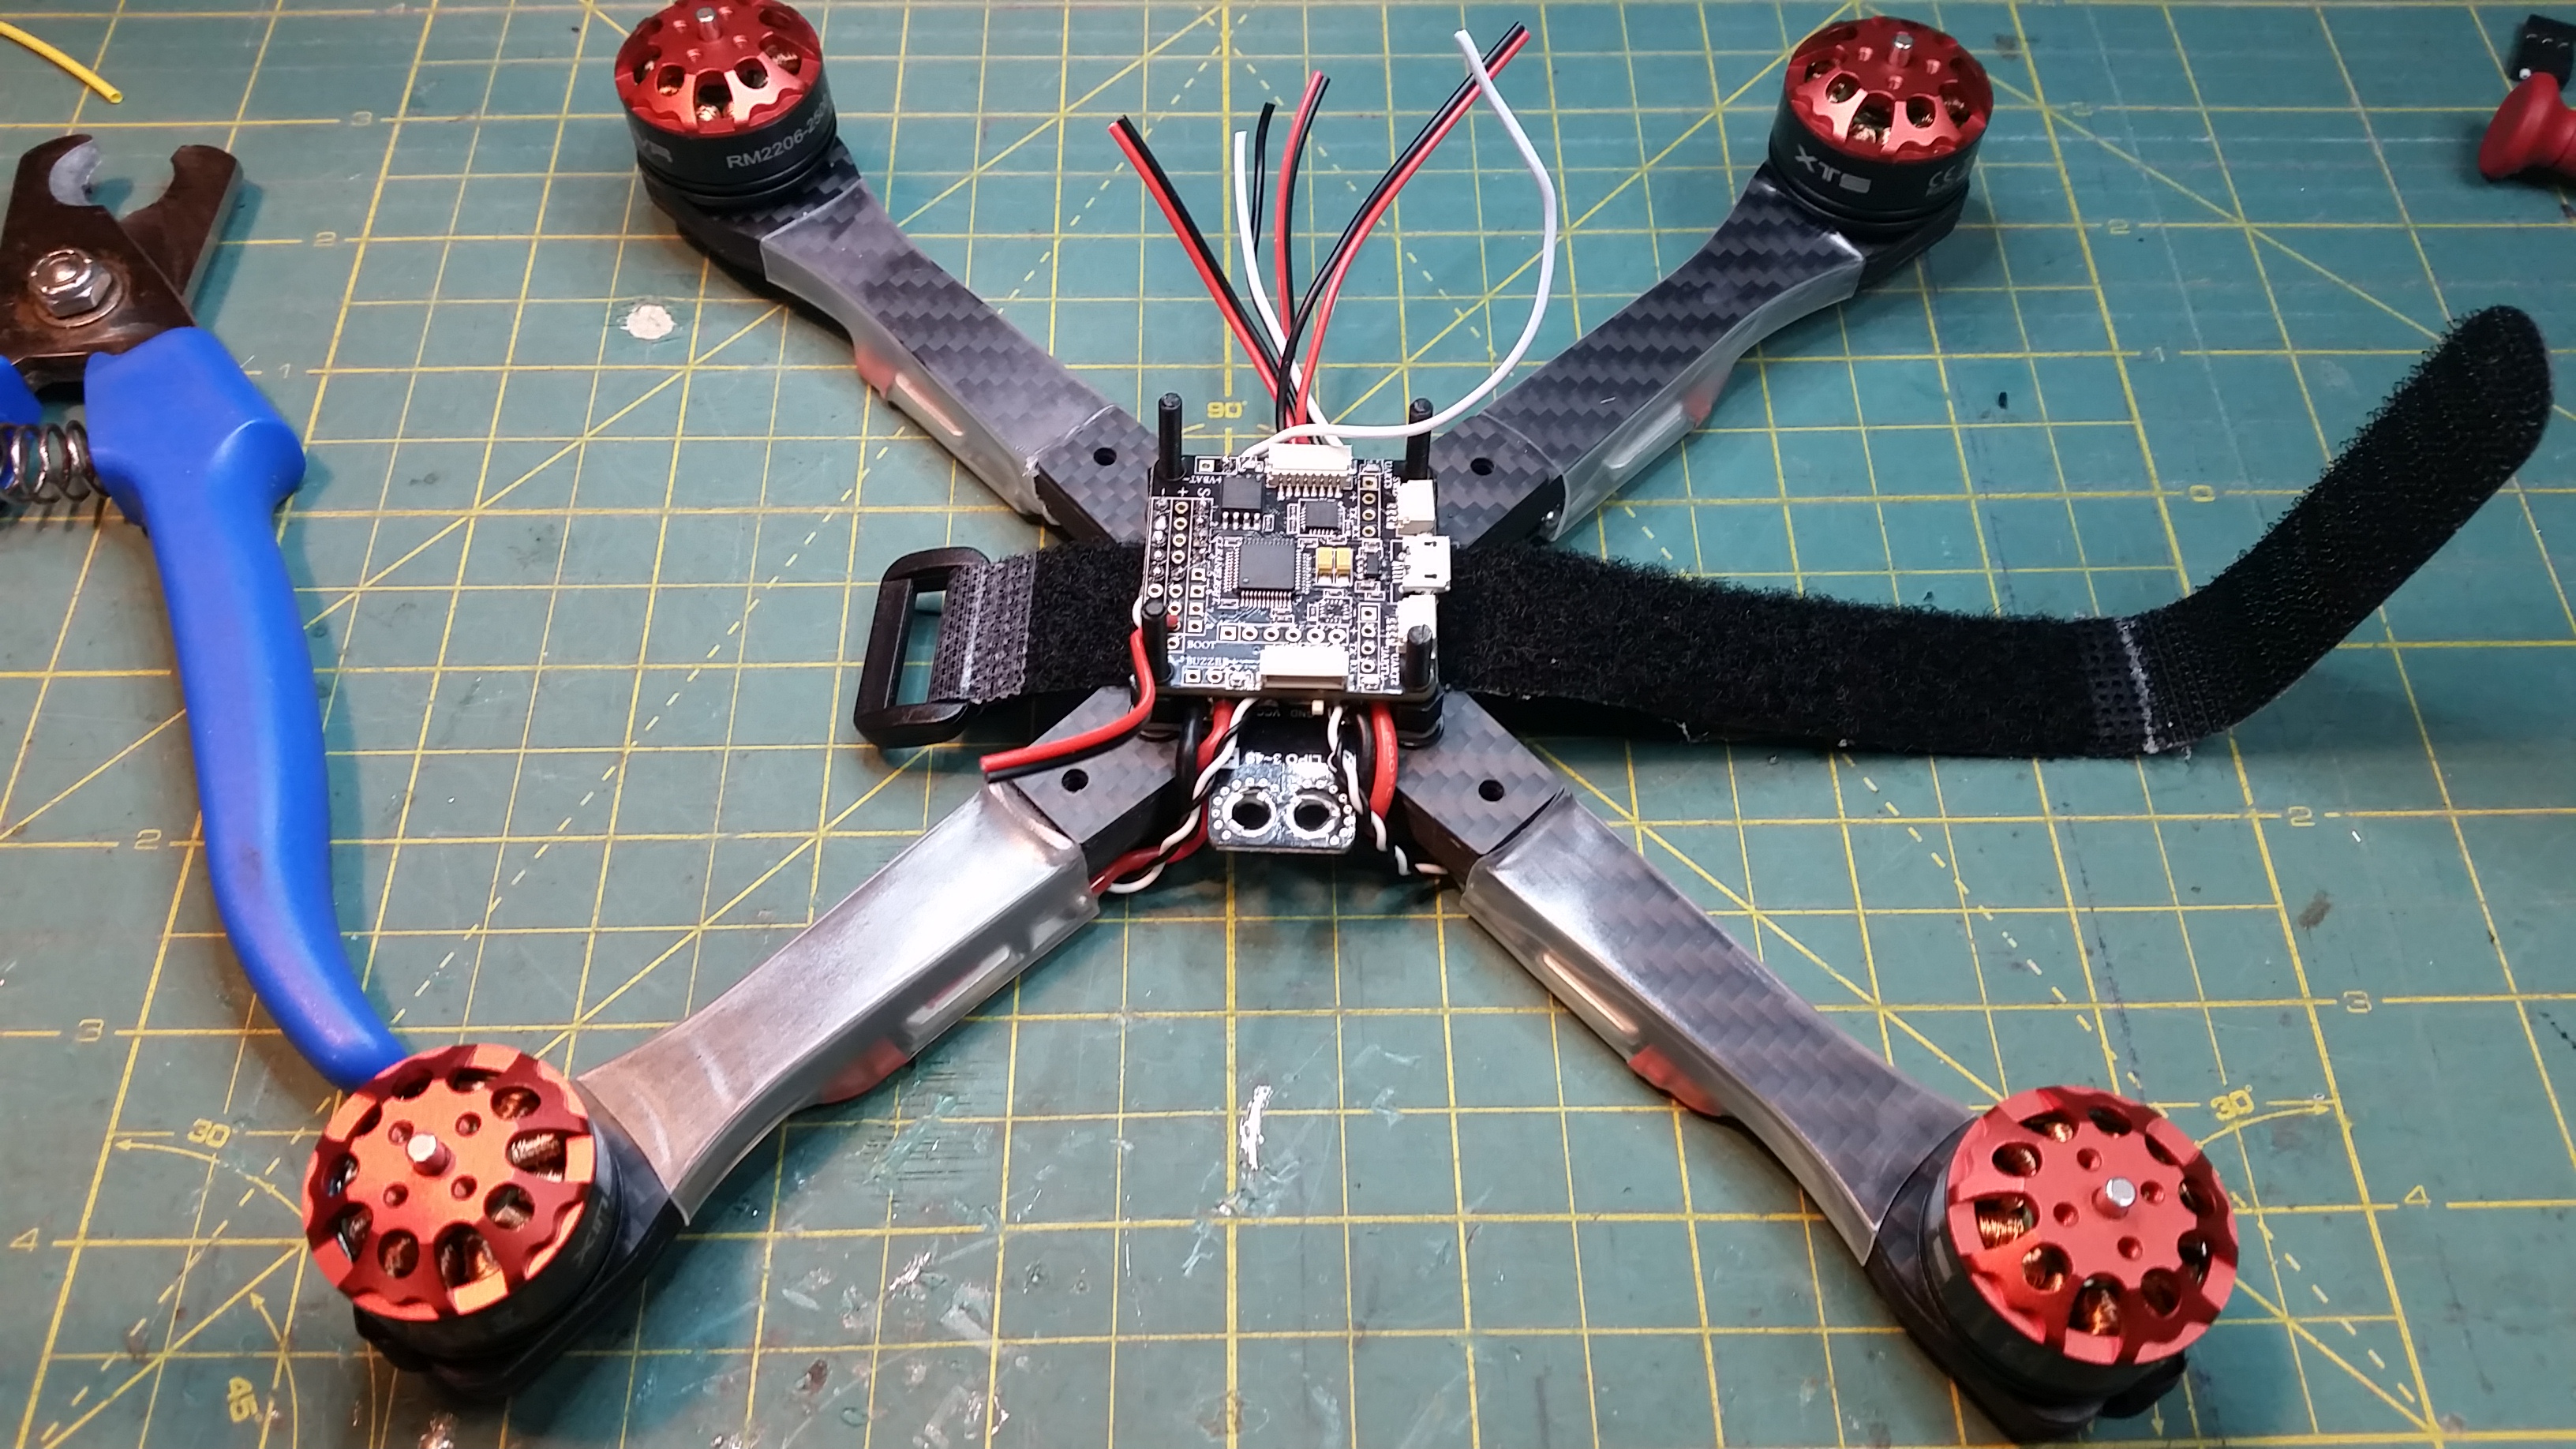
Keep all your leads to the FC as short as possible.
If you want to cut a slot in your shell so that the FC port is accessible make sure to orientate your FC accordingly.
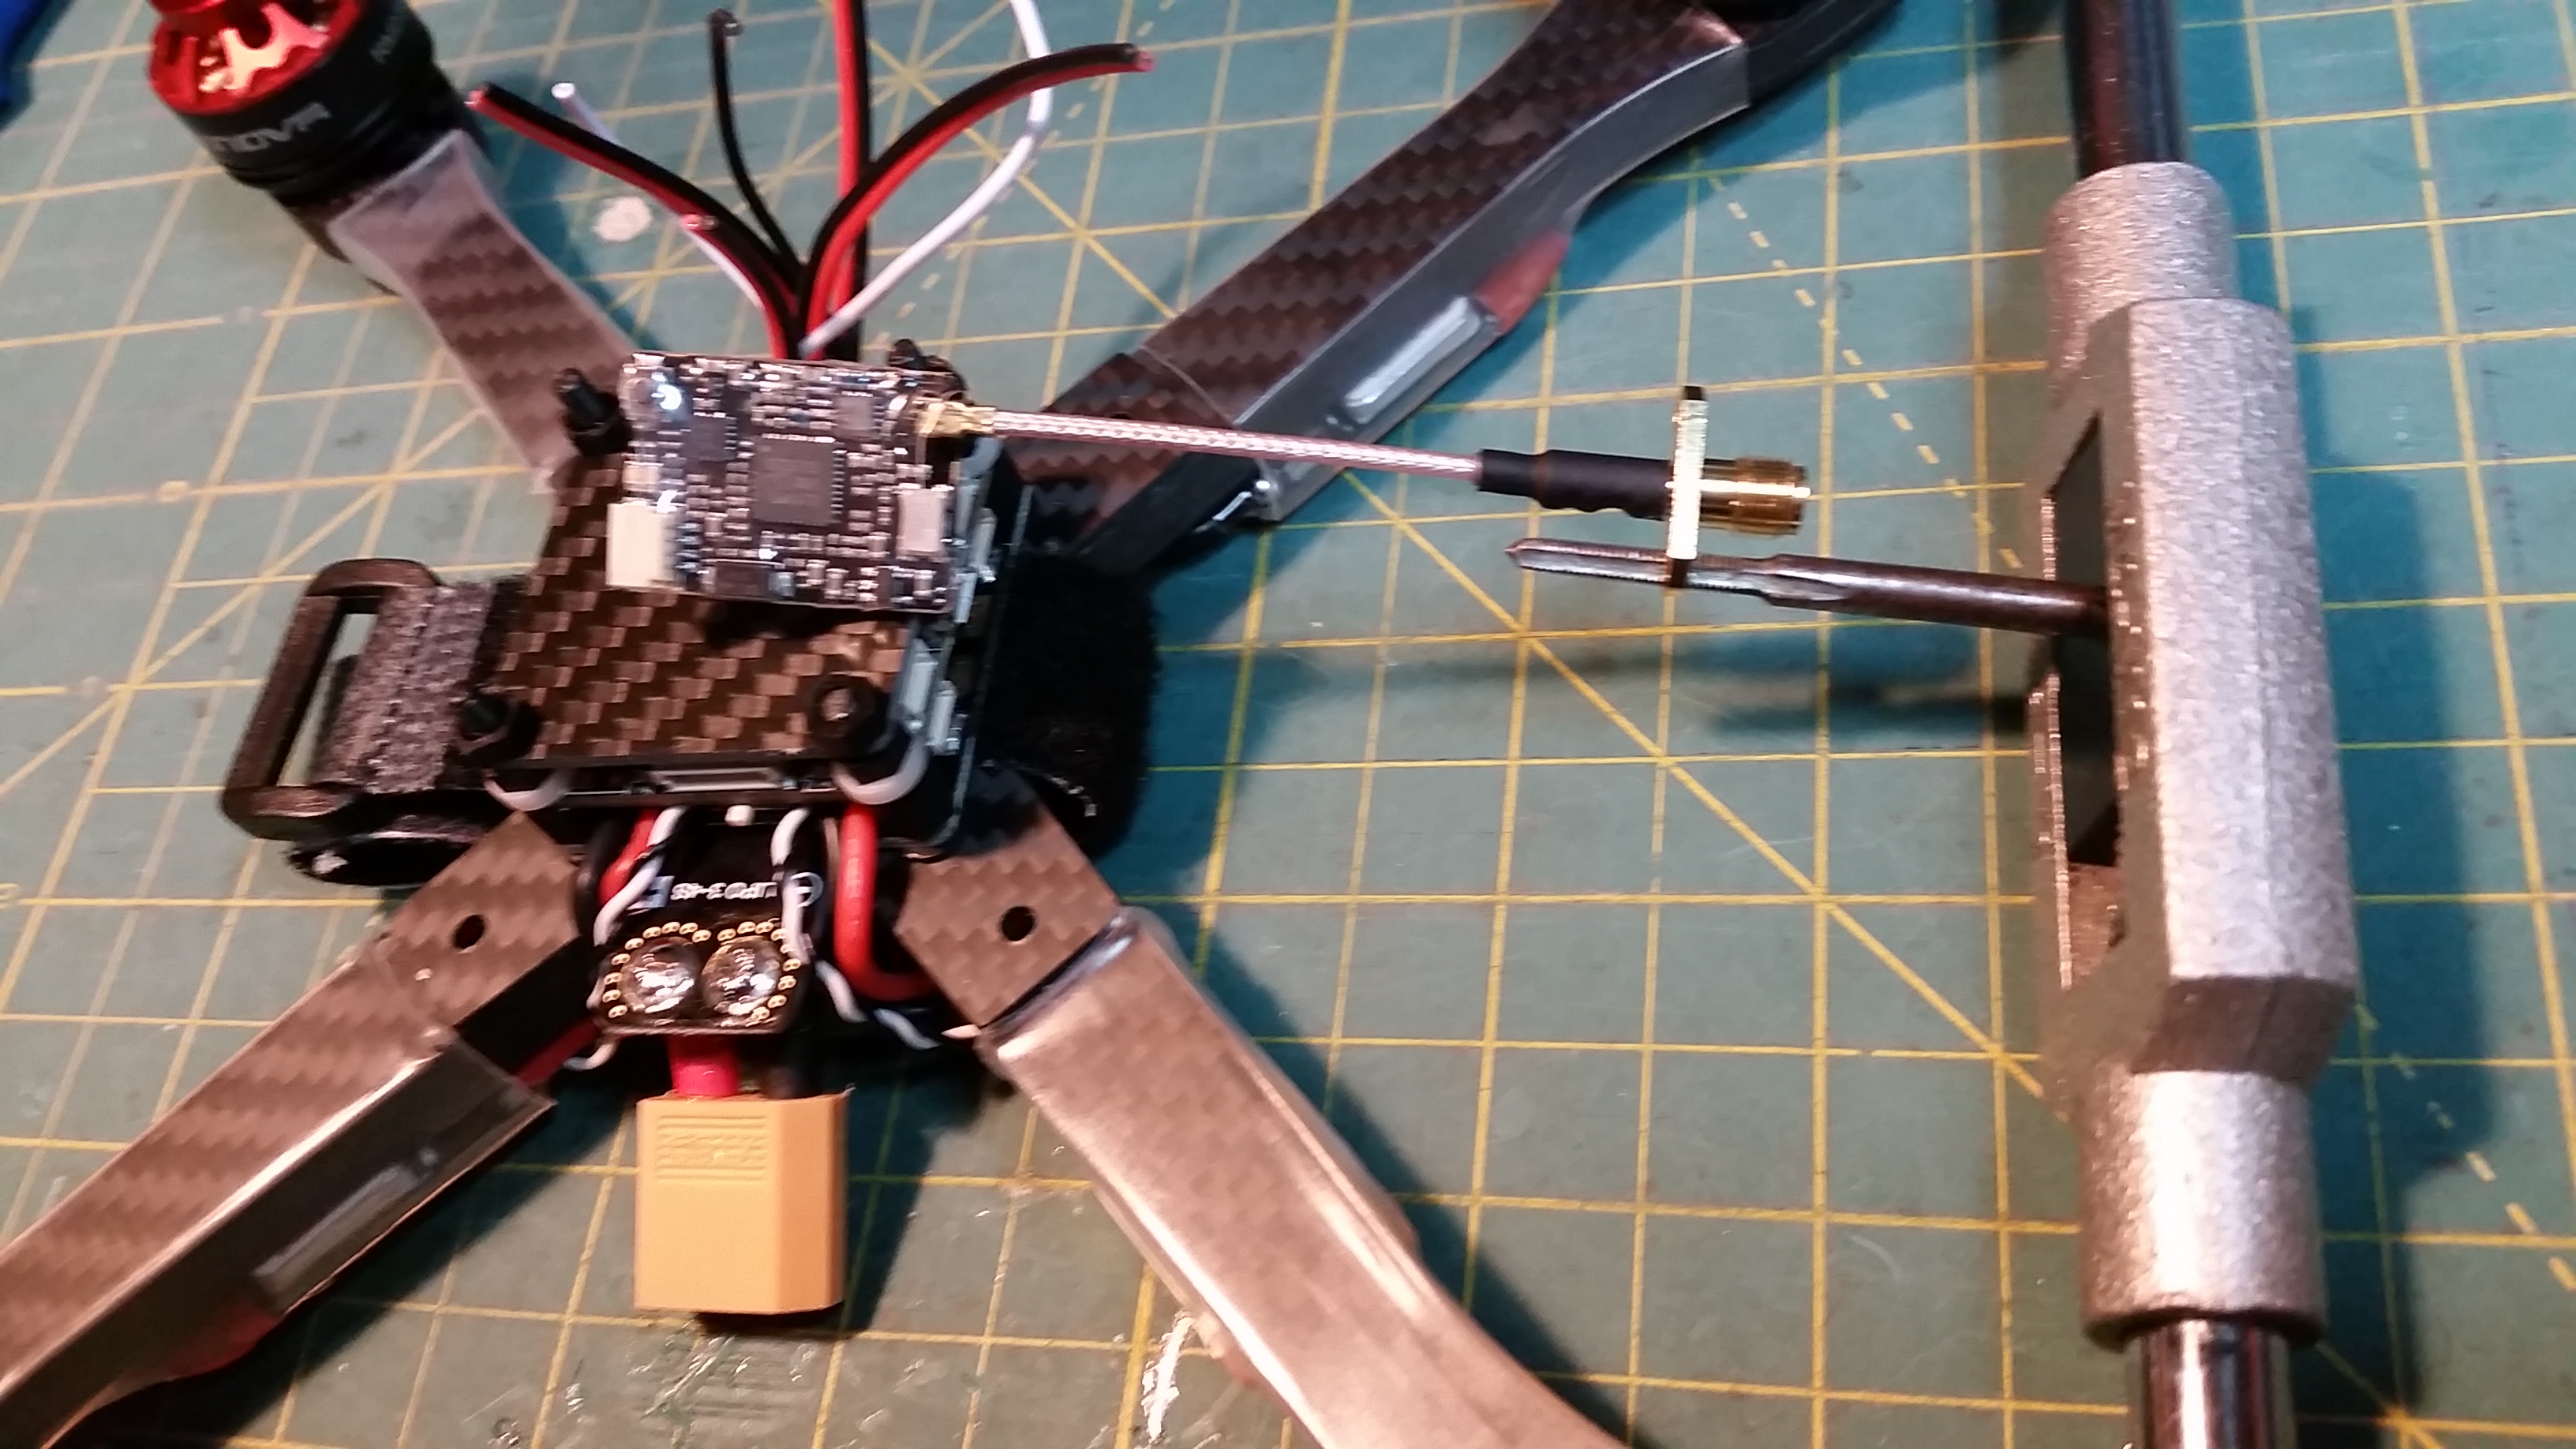
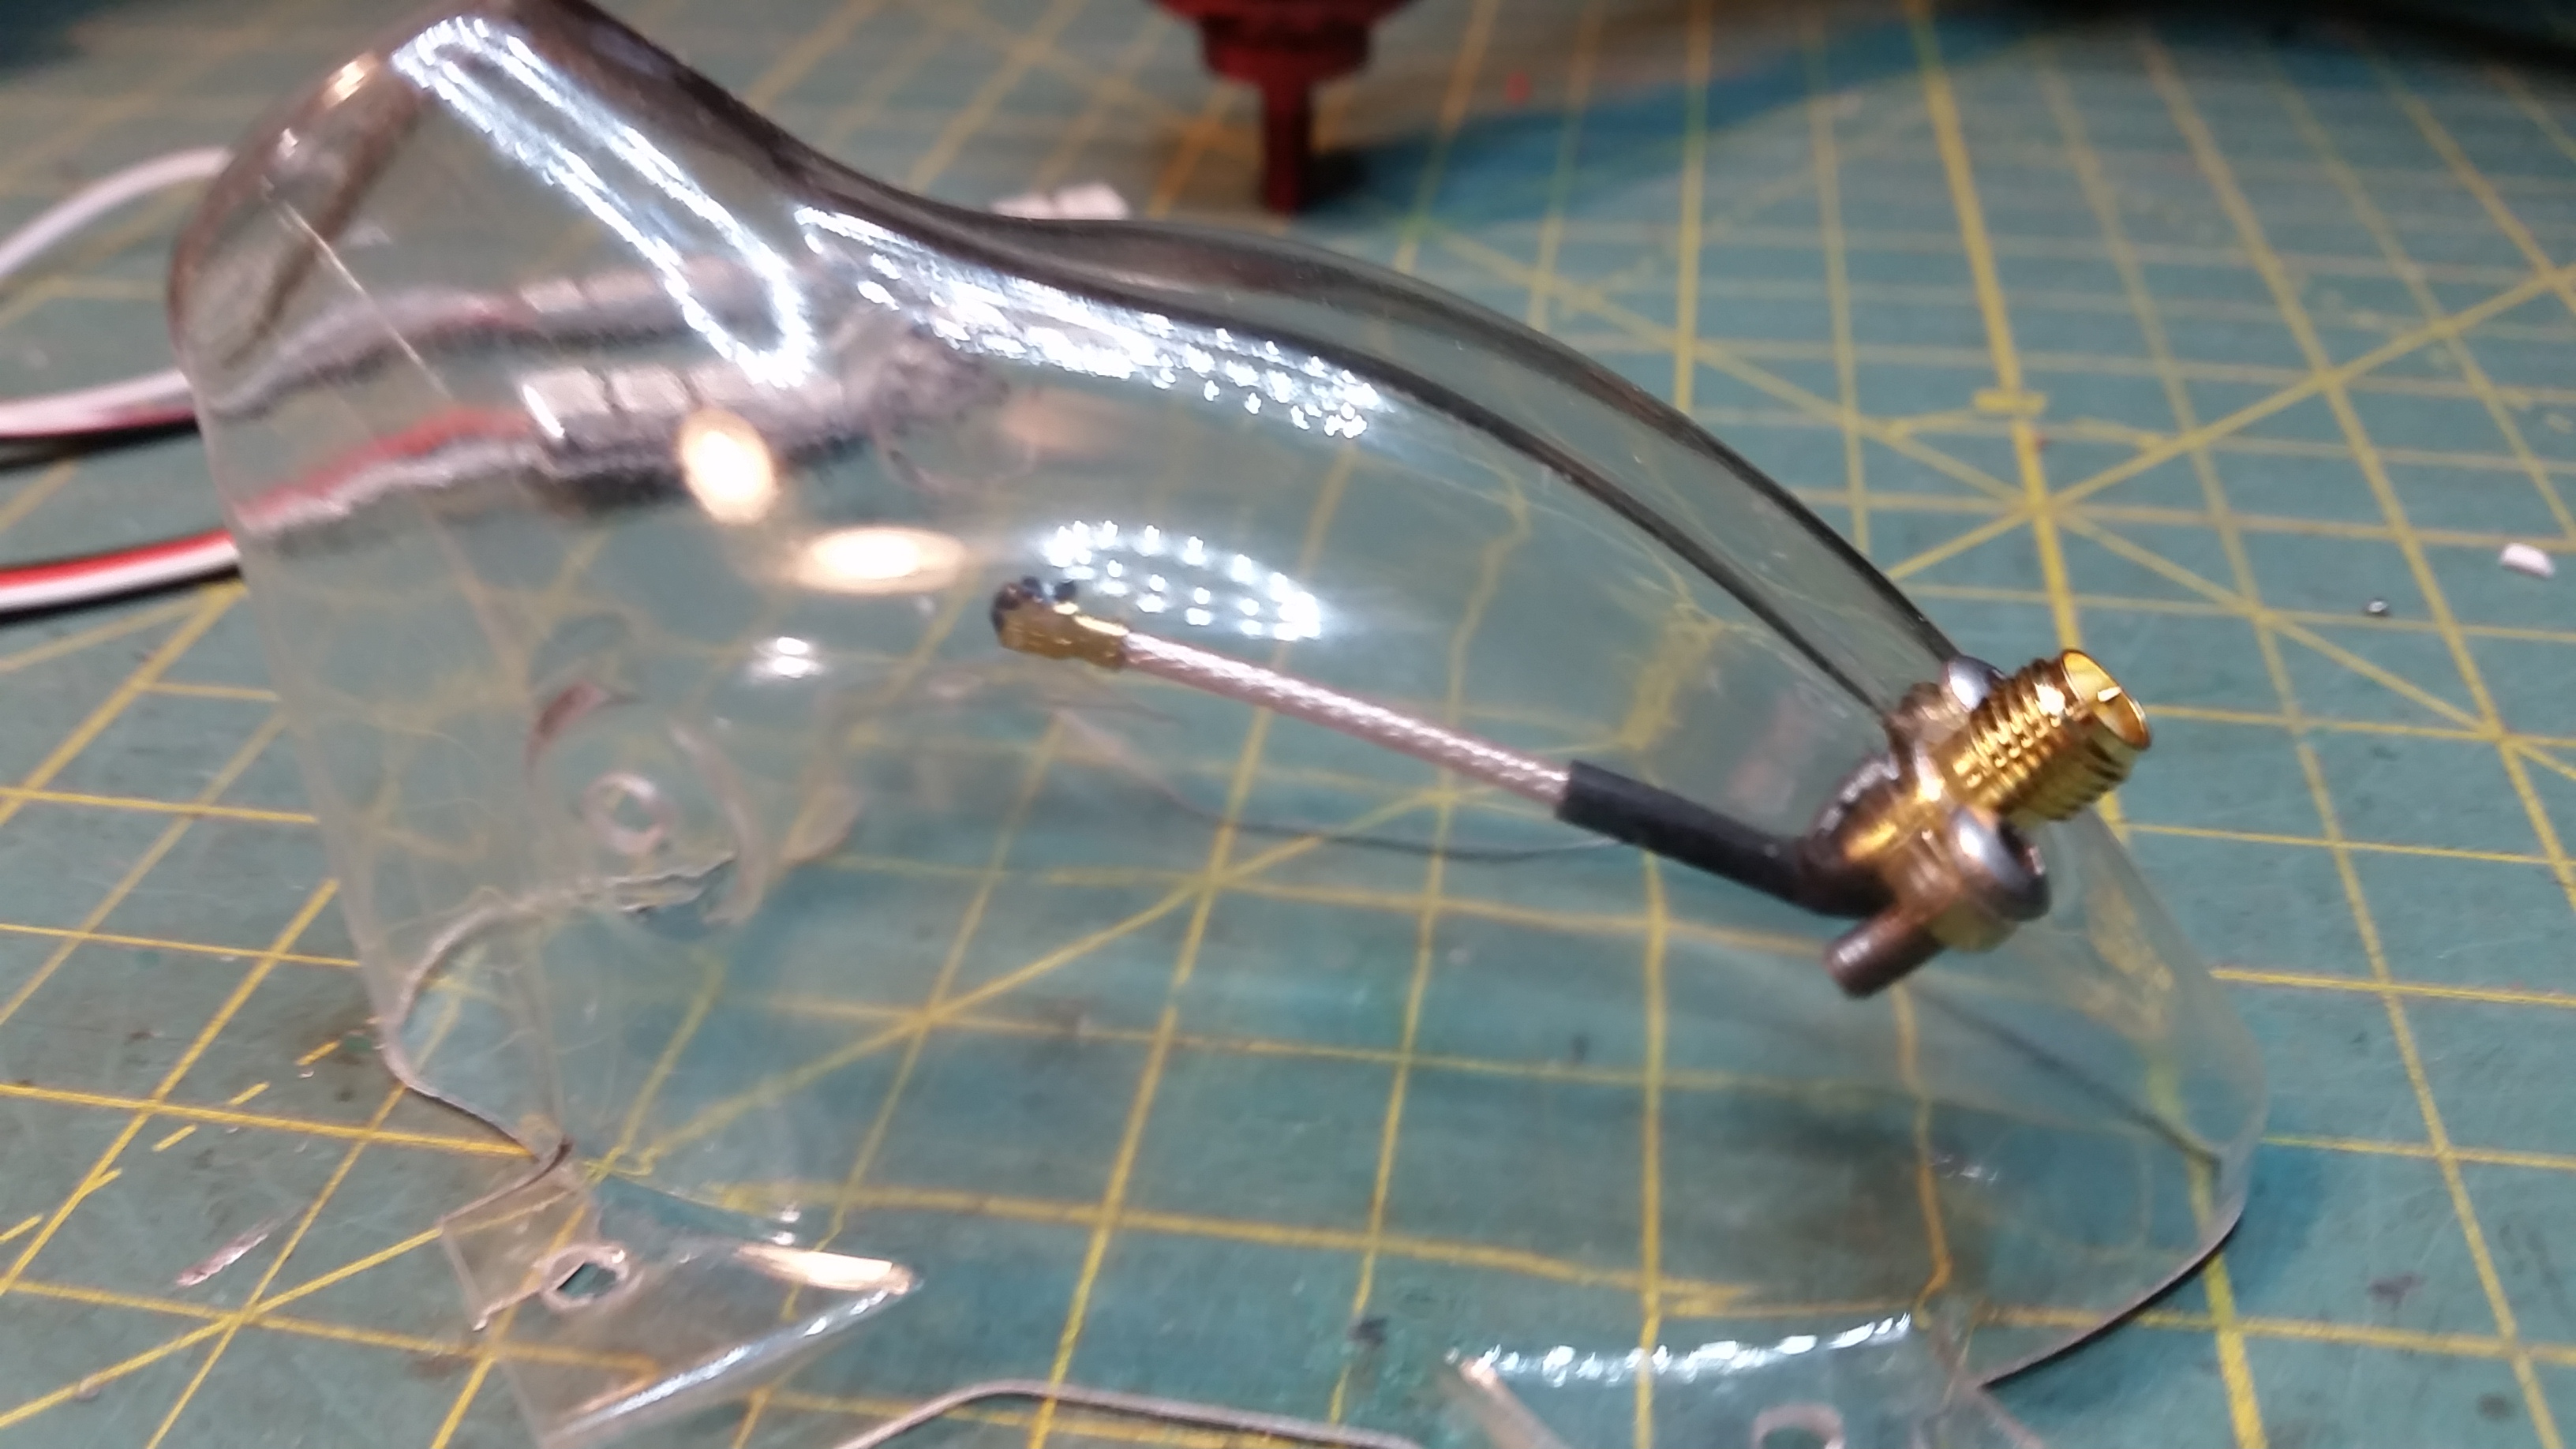
Here you can see some modifications being done to the TBS unify VTX. Ive added a small carbon plate to the top of the FC stack, available from Phaser for a few dollars. It allows for the mounting of the VTX/RX and 5v reg if required. The RX is mounted on the underside of the Carbon plate with the VTX and reg on the topside. Alternatively you can mount some of your hardware to the shell itself, make sure you make it easy to disconnect if you do. Check clearance on your VTX antenna, the TBS pigtail will need to be modified to clear the FC stack. Or you may chose to replace it with a 90 degree pigtail.
Once you have all your clearances sorted out you can begin porting the shell for your camera. Use a soldering iron to get started and clean the edges up carefully with a file or dremel. Careful, the lexan marks easily and can crack if you are rough.